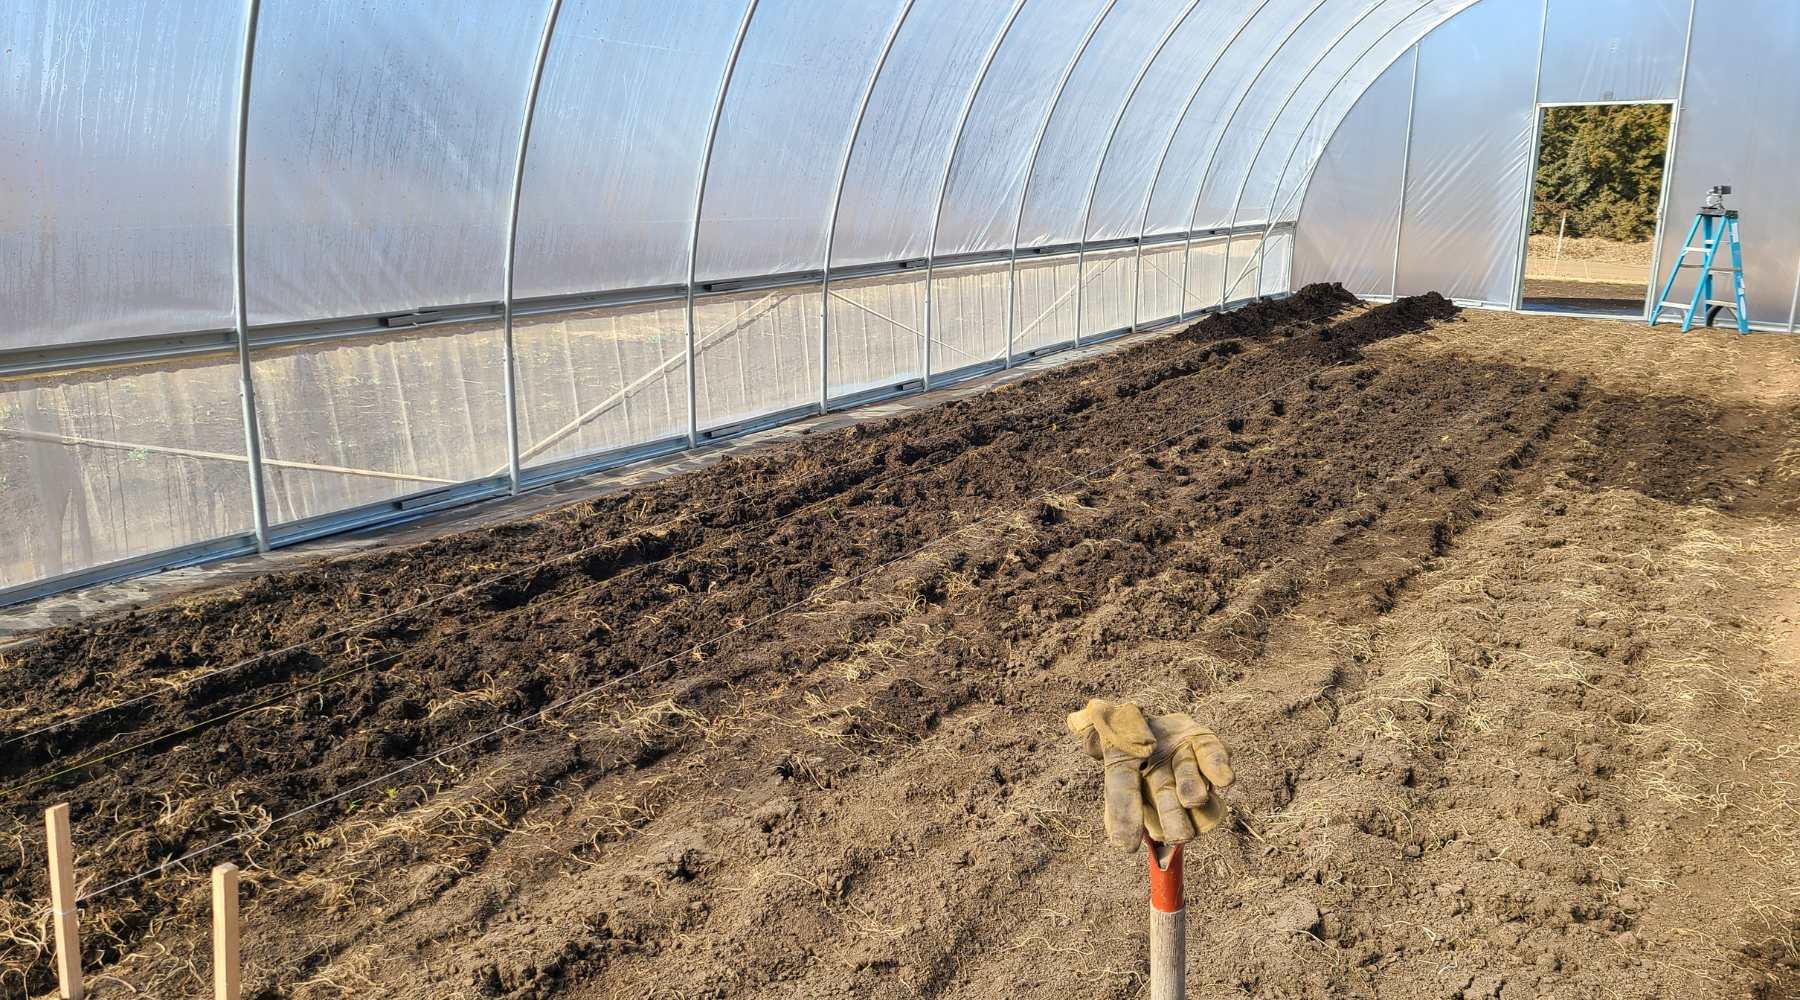
Hip Boards, Base Boards, Ridge Poles & Purlins

Which is What?
Hip boards run the length of the hoop house and are most often found at 4' off the ground parallel to the baseboards.
Baseboards run level down along the ground at the base of the structure.
Ridge poles are the pipes that run along the center underside of the top of the hoops parallel with the baseboards.
Purlins are additional structural supports run parallel to the ridge poles above the hip board.
Check out the video!
RIDGE POLES FOR HOOP HOUSES
Ridge poles are installed after all of your hoops have been inserted into the ground posts. They are the central roofline used to connect the hoops to each other, and proper installation is the best way to ensure that all hoops are at the same height.
Because the ridge poles are such an integral part of your hoop house's overall strength, it is important that they be strong. It is best to use a 16 gauge steel pole like those included in our premium kits.
For DIY kits, we recommend that you purchase 10 ft 1-3/8" top rail for bows & ridgepoles, which are typically sold at 17 gauge. Stronger is better if you can find it.
HIP BOARDS AND BASEBOARDS FOR HOOP HOUSES
Hip boards and Baseboards connect the hoops and keep them even along the length of the structure. When straightening out the hoops, start with the base and then do the hip. They also act as a foundation to secure lock channels and spring wire, which is the best way to secure greenhouse plastic.
Most kits that call for wood have you source the lumber locally, so add that cost into your budget. Baseboards tend to be 2x6's. Hip boards are sometimes 1x6's or 1x8's.
Remember, it's ok to over-build. Just never cut corners or under-build.
Metal hip and baseboard options do come with premium kits. These metal braces offer multiple connection points on the hoops to help wind bracing. They also will outlast wood long-term. And as far as strength, more often than not, will also be superior to wood. Check out this article about building materials for building a DIY hoop house kit.
When comparing kits, note the gauge and profile of the metal bracing. This is another place where there is no "industry standard." There are so many options out there. This may be a place manufacturers use to lower the cost of a kit with lighter gauge steel. And remember, the lower the number, the thicker the metal.
PLUMB YOUR HOOP HOUSE
Fully plumb the 1st hoop on one side of the house. Your ground posts will already be set as best for rib spacing. As you run the baseboards, they will begin to be connected, adding to the overall strength of the hoop house. Next, measure the same rib spacing (4' for Bootstrap Farmer structures) from the same hoop where you began the ridge poles.
Begin by attaching the baseboards followed by the hip boards. Remember to start the hip boards from the same side you started the baseboards on.
By working down, you ensure proper and even rib spacing. By working the base and then the hip boards, starting on the same side and using the same width spacing as you did with the ridge poles, you will see the shape of the hoop house really line up as it should.
PURLINS FOR HOOP HOUSES
Purlins are an add-on available for many kits that increase your completed hoop house's overall strength and wind/snow resistance. Purlins are installed above the hip board 1/2 or 3/4 of the way up each side of the hoop house parallel to the ridge poles. Because they add multiple connection points between each hoop, they solidify the structure. Adding purlins is particularly helpful in areas that experience heavy snow loads or high gusting winds. Purlins are a necessity on any hoop houses over 20' in width.
Once your baseboards, hip boards, and ridge poles are plumb and connected, you can add purlins if you have chosen to include them in your build. Purlins are attached using the same equipment and process as ridge pole installation. Be sure to keep the purlins level as you tighten each cross connector. For more information on building a hoop house check out Prequel to Building Your First Hoop House.