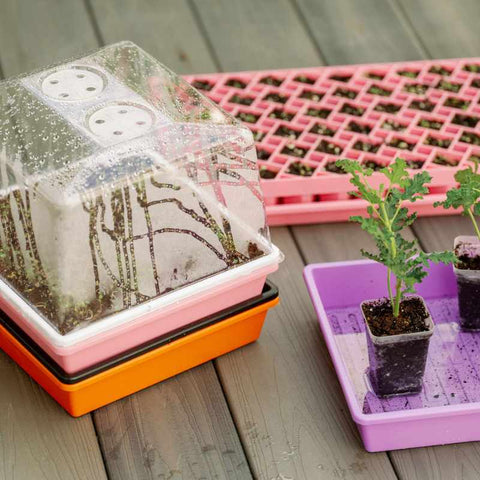
How to Use a Humidity Dome for Seed Starting


A humidity dome is an excellent addition to your seed-starting toolkit. Used properly, a dome can:
- Help maintain soil moisture and temperature
- Increase germination rates
- Protect delicate and expensive seeds
- Limit time spent watering seedlings
WHY HUMIDITY DOMES ARE HELPFUL WHEN STARTING SEEDS
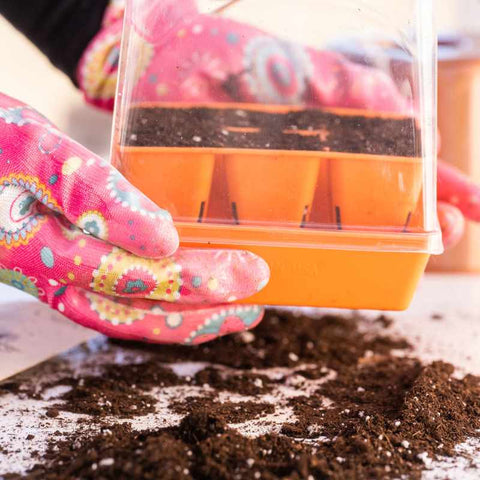
Many people debate whether a dome is necessary when ordering supplies and planning ahead to start seeds for this year's garden. Provide seeds with moisture, warmth, and light at the right time, and they should germinate. Humidity domes help maintain two of these three needs for your seedlings.
Humidity domes of all sizes are useful during germination, and are often used in conjunction with heat mats. They help protect the seeds, maintain moisture levels, and create an ideal environment for a strong start. While many of your seeds will likely germinate without a humidity dome, using one will significantly increase germination rates and shorten sprouting time for most seeds.
Using humidity domes reduces seed waste and time. Leave them on the tray until the first sign of germination, or until you begin to see sprouting. Once sprouting occurs, remove the dome and place your trays under light, with proper air circulation. If brought under light too late, seedlings can get leggy. It is crucial to monitor your emerging seeds during this step. Use a heat mat during this process to accelerate germination. Check out How to Use a Heat Mat for Starting Seeds.
HOW LONG TO KEEP SEEDLINGS UNDER HUMIDITY DOMES
While the seeds are germinating, they require constant moisture. The humidity dome can save you a lot of time by retaining moisture. Once sprouted, this same humidity can cause mold, so be sure to uncover them once sprouting begins.
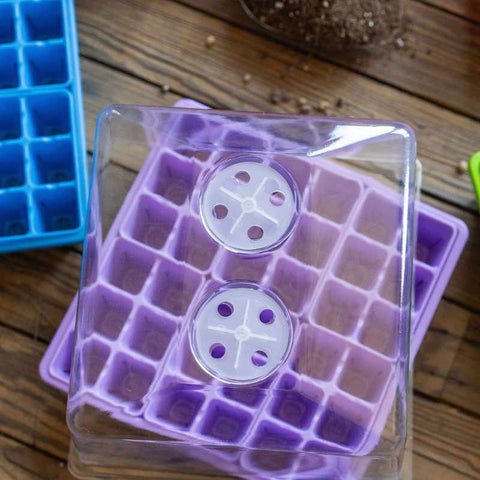
Some growers like to wean their seedlings off the humidity domes by propping them up to allow airflow before fully acclimating them to the outside air. Our humidity domes have built-in adjustable vents to allow you to introduce air circulation and decrease humidity slowly for tender varieties. Sprouted seeds need light and air circulation to thrive at this point.
Exceptions to the humidity dome rule
A few crops are the exception to this rule and can benefit from having the dome stay on, with the vents partially open, for days after germination. Peppers notably seem to enjoy a few days of extra humid heat to really get growing.
If you are growing specialty plants for nurseries or landscapers, you may find that using a humidity dome to create a microclimate within your grow space helps you grow strong transplants. Harden them off properly to deal with lower humidity than their ideal. Opening the vents fully and then leaving them open for a few hours a day will help with this process. Use these modified recommendations from our Seed Starting 101 Guide to wean your plants off added humidity.
5 EASY STEPS TO HARDEN OFF YOUR SEEDLINGS BEFORE TRANSPLANTING
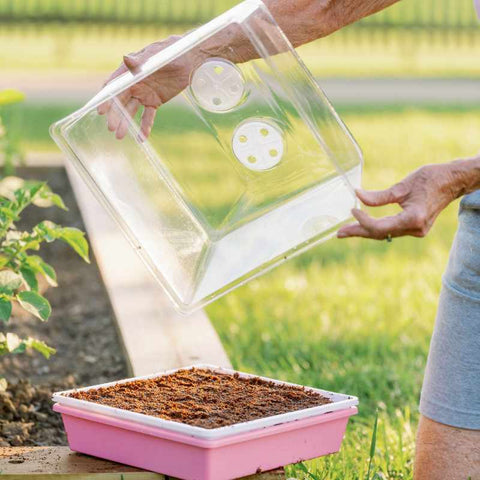
- Place your tray of seedlings outdoors in an area protected from wind and direct sunlight for 2-3 hours per day for 3 days. Keep the dome on with vents open. Bring them back inside at night.
- For the next 3-4 days, place the seedlings outside in the mornings and bring them back in at night. Remove the dome for a few hours each day. Keep out of direct sunlight.
- For plants in direct sun, remove the dome and expose them to ambient humidity and direct sunlight for a few hours each day.
- For 1-2 days before planting, leave your trays in a protected outdoor space overnight with the dome completely removed.
- Stop watering your seedlings 18-24 hours before you plan to plant them. Doing so makes it easier to remove them from the trays.
Using a humidity dome to grow microgreens
While we recommend stacking most microgreen varieties during germination, a few benefit significantly from a humidity dome instead. These tricky seeds include:
- Mucilaginous (sticky, gel-like) seeds: basil, chia, and flax
- Large seeds that don't like to be overcrowded: corn and beans
- Root crops that require consistent moisture: carrots and parsnips
- Tiny seeds that may get lost or crushed: lettuce and spinach
For more on the basic growing process of microgreens, check out Step by Step Guide to Growing Microgreens at Home.
When using a humidity dome to sprout microgreens, it is even more important to remove it at the correct time. 24-48 hours after initial germination is ideal. This allows the tiny roots time to penetrate the growing media without being dried out by circulating air. Check out our Microgreens Ultimate Growing Cheatsheet for more information on microgreen germination times.
Using a Blackout Humidity Dome for Specialty Microgreens
A blackout dome is a humidity dome painted black or designed to block all light from your growing trays. Crops like popcorn shoots must be grown in complete darkness. Others, like broccoli, pea shoots, and radishes, benefit from a day or two under blackout to lengthen stems, prevent yellowing, and make them easier to harvest.
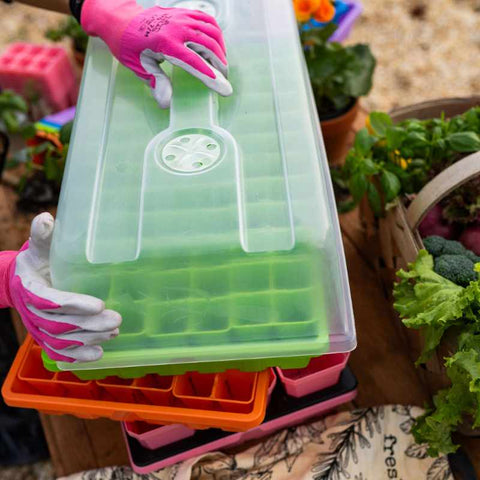
Our blackout humidity domes are designed for specialty microgreen growers. They cover any of our 1020 growing trays and block light, provided the vents remain closed. Even with the vents open, they will exclude enough light to lengthen the stems on your short, hard-to-harvest crops.
To learn more, read When to Use a Blackout Dome post.
HOW TO PREVENT MOLD WHEN USING HUMIDITY DOMES
You will typically see mold issues if you leave the humidity dome on for longer than the recommended time (germination phase). When germination on a tray is incomplete or staggered, using domes with an adjustable vent helps combat this issue. If many of the seeds in your cell plug tray have germinated but not all, open the vents at the top of the dome to create some airflow while keeping the tray's humidity above the room's ambient level. If small spots of mold appear during germination, they often disappear when the tray is exposed to proper airflow and light.
Bootstrap tip: Clean your humidity domes between uses and only plant seedlings together with similar germination times, ideally the same number of days, to prevent molding on the first emerging sprouts.
Cleaning trays can be done with basic dish soap, a good rinse, and a quick spritz of 3% hydrogen peroxide solution. Learn more in How to Wash and Care for Seedling Trays.
OTHER BENEFITS OF AND USES FOR HUMIDITY DOMES
- Seedling protection from mice and bugs. Although not airtight, humidity domes cover the edges, preventing pests and critters from wreaking havoc.
- Transporting microgreens and plant starts. Do your customers prefer live microgreen trays? Transport and deliver them under cover.
- Keep young cuttings safe: Keep newly propagated cuttings humid and happy for increased rooting success. Our propagation kit makes it easy.
So, do you really need a humidity dome?
Like any farming tool, you could do alright without one, but having one sure makes some tasks easier. For delicate crops, heat-loving crops, tricky-to-grow microgreens, and tropical plants, using a humidity dome can be the difference between success and failure.
Not sure if it will help? Try running a few side-by-side tests in your growing space. Two trays: treat them the same, but cover one with a dome and leave the other exposed to ambient humidity. Once you see how the speed and reliability of germination increase, you will likely want to add more of this handy tool to your farming toolkit.
Also in How to Grow Seedlings

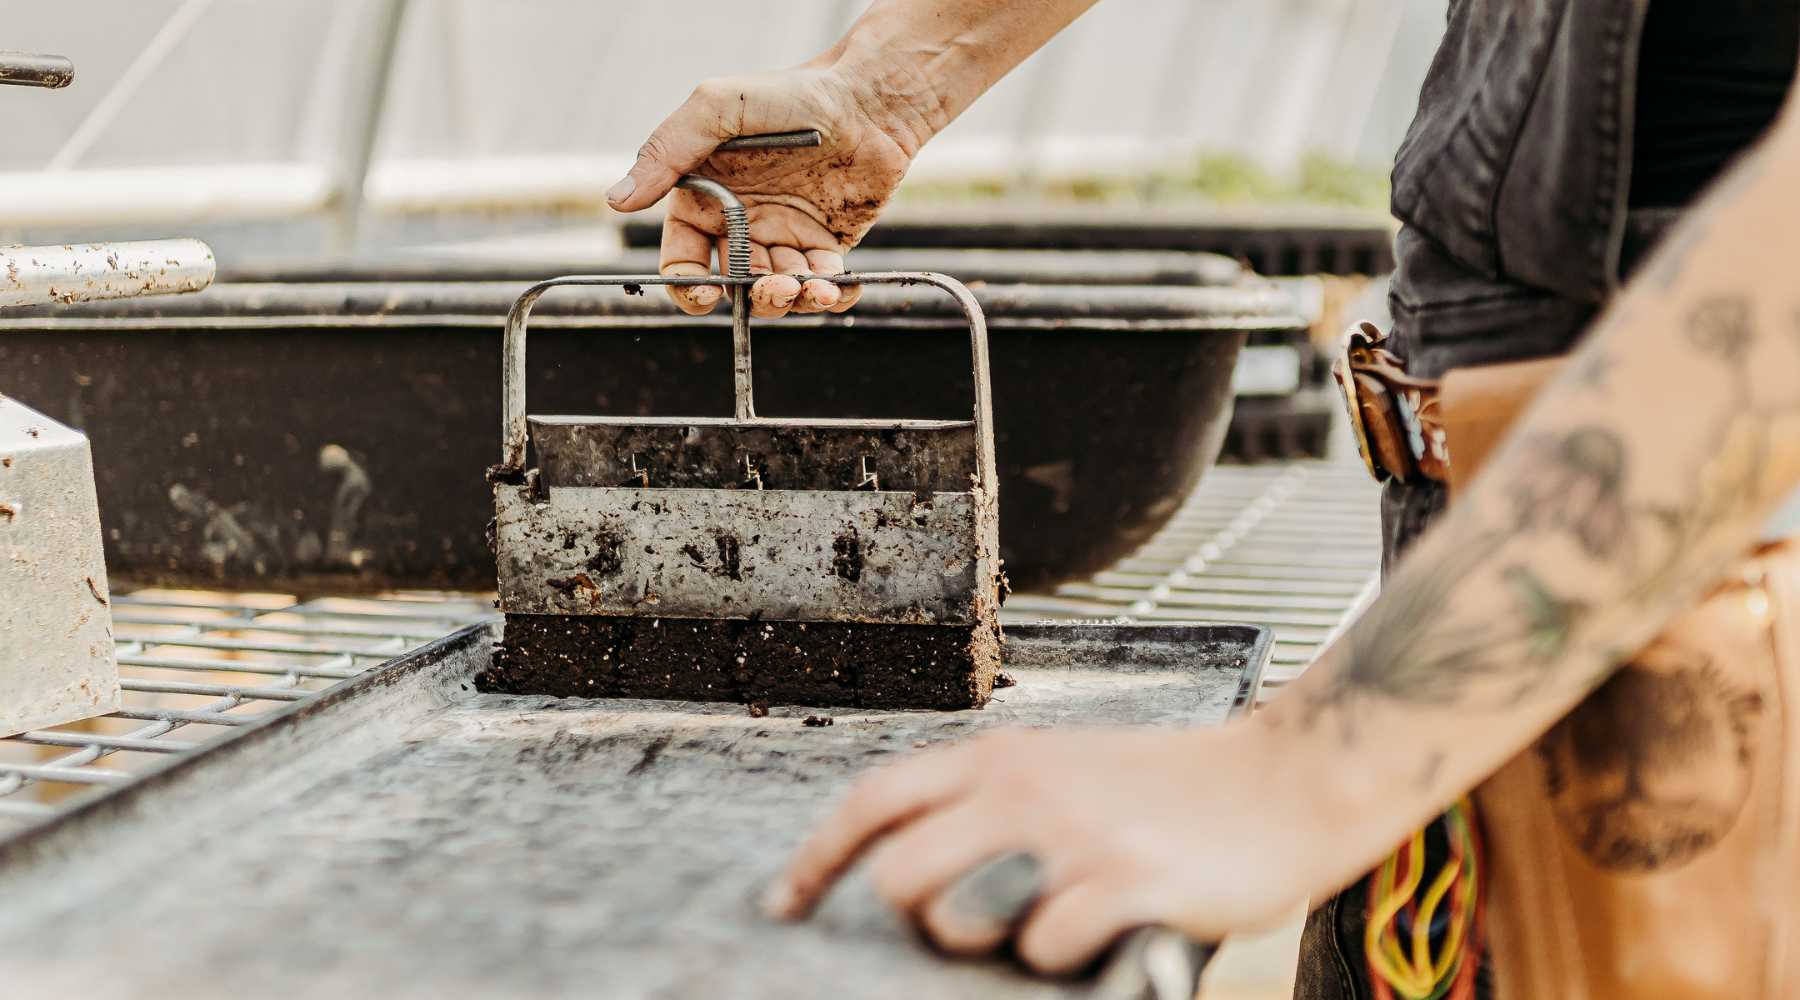
Soil Blocking 101
Soil blocking is a method of propagating seedlings that involves filling a metal blocking tool with soil and squeezing to form a compressed cube. Seeds are planted directly into the formed block. Soil blocks come in various sizes and are advantageous for air pruning roots.
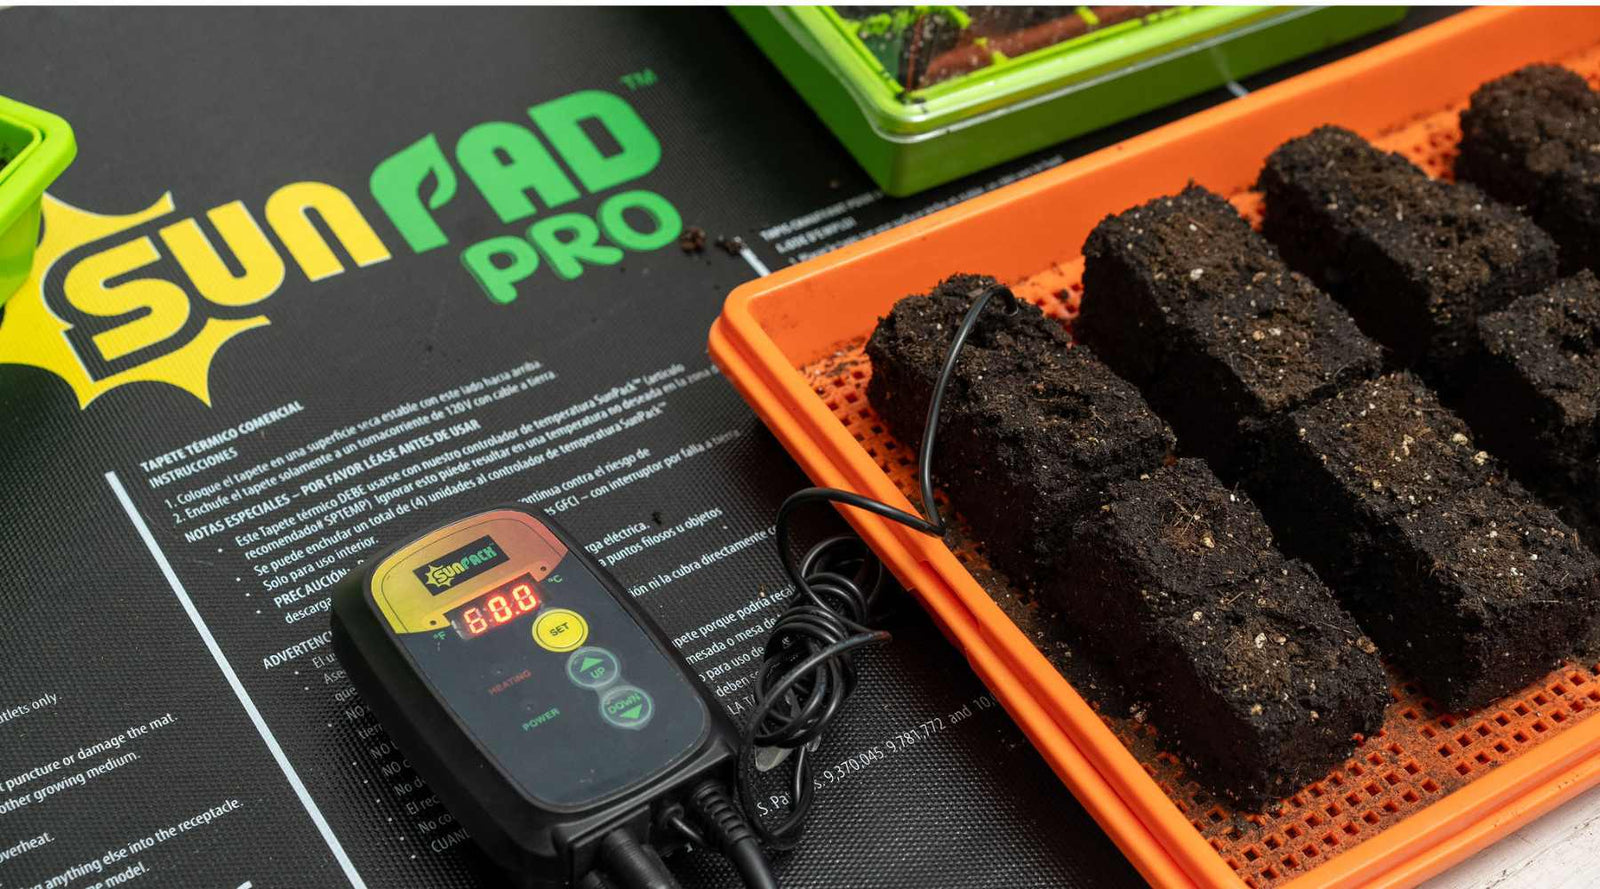

How to Use Heat Mats for Starting Seeds
Learn how to set-up and properly use a heat-mat in this quick how-to article. Read about the best way to use a heat mat and find out if you even need one!
Read More
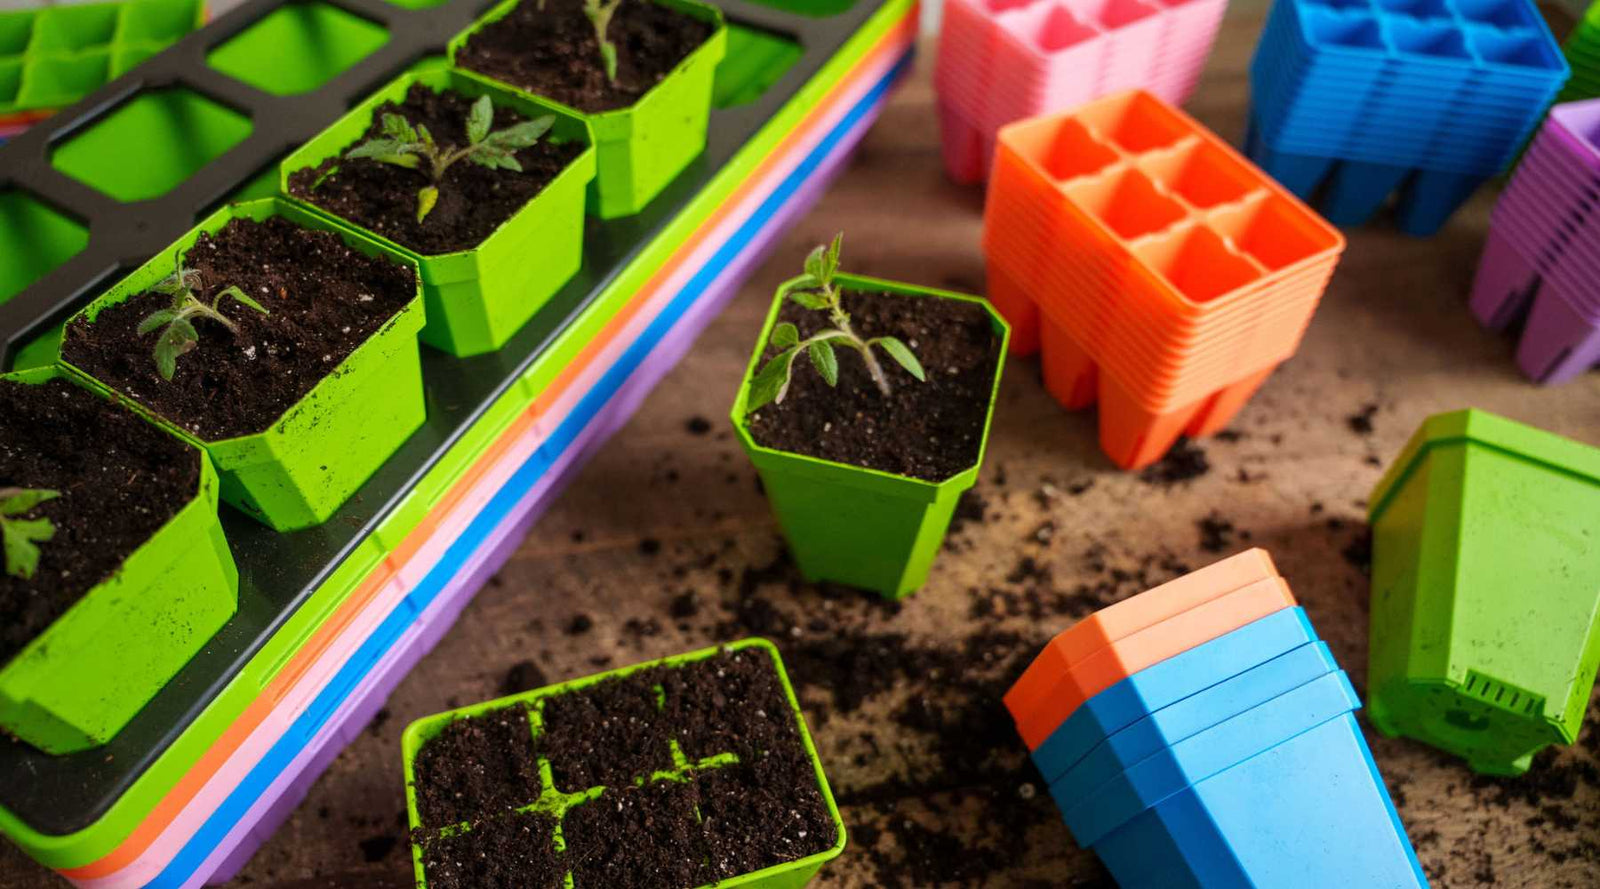

How to Transplant and Up Pot Seedlings
At what stage do you up-pot or transplant seedlings? Learn from the experts at Bootstrap Farmer all of the top tips for successfully transplanting seedlings into bigger pots or outdoors.