Stabilizing Your Hoop House for All Kinds of Weather


Building a Strong Hoop House
Ridge poles, optional purlins, truss kits and cross connectors work together to connect and stabilize the hoops on a hoop house structure. Properly installing these parts will make a huge difference in the strength of the overall hoop house.
We recommend keeping these options in mind when planning your hoop house build. Read more to learn how these components work together to create a sturdy structure.
Depending on where your farm is located and if you are getting an NRCS grant, many of these items will be required additions to your hoop house or high tunnel kit.
Installing Ridgepoles and Cross Connectors on a Hoop House
The installation of your ridgepoles with cross connectors is the step that will finalize the position of the hoops. It allows for slight adjustments to ensure proper spacing between hoops. In the case of our all inclusive greenhouse kits, the hoops will be four feet on center apart from each other. This is also the step where you will carefully plumb one end wall hoop and use that to ensure that each succeeding hoop is plumb and exactly perpendicular to the ground.
Safety Meeting
Throughout this step, you will be high up and working generally above your head. This can be done on ladders or by renting a lift. If you will be working on a ladder, it is ideal to have someone holding the ladder for you. Also, that person can be extremely helpful in handing up dropped items so you do not have to climb up and down for every dropped nut or socket.
We have seen people do this step working in the bucket of a tractor, but it is not the safest method and is not one we recommend. If you are building a large hoop house, you may find that renting a lift for the day will not only be the safest option but will also make the work go faster and be easier on your body.

Keeping Your End Wall Plumb
Since each hoop will be connected to the first end wall it should be carefully made plumb and held that way as you make the connections. You can do this easily using stakes and rope. Wrap a rope up and around the hoop. Using a magnetic level, stake the rope securely on either side of the hoop with the hoop directly perpendicular to the ground. If you need to, move the stakes slightly left or right in order to secure the hoop in the proper position.
Once this first hoop has been set you can begin attaching the ridge poles. The first connector you use will be the endwall connector. All other hoops will be attached using cross connectors.

Using Cross Connectors to Attach Hoops
The cross connector is a handy piece of hardware that is placed over a hoop and bolted together to create a saddle for the ridge pole to slide through. The bolts can be left loose to facilitate moving the ridge poles through and then tightened using an impact driver or ratchet once your hoop to hoop measurements have been double checked.

Ridge Pole Installation
Once your cross connectors are installed you will start putting in the poles themselves.
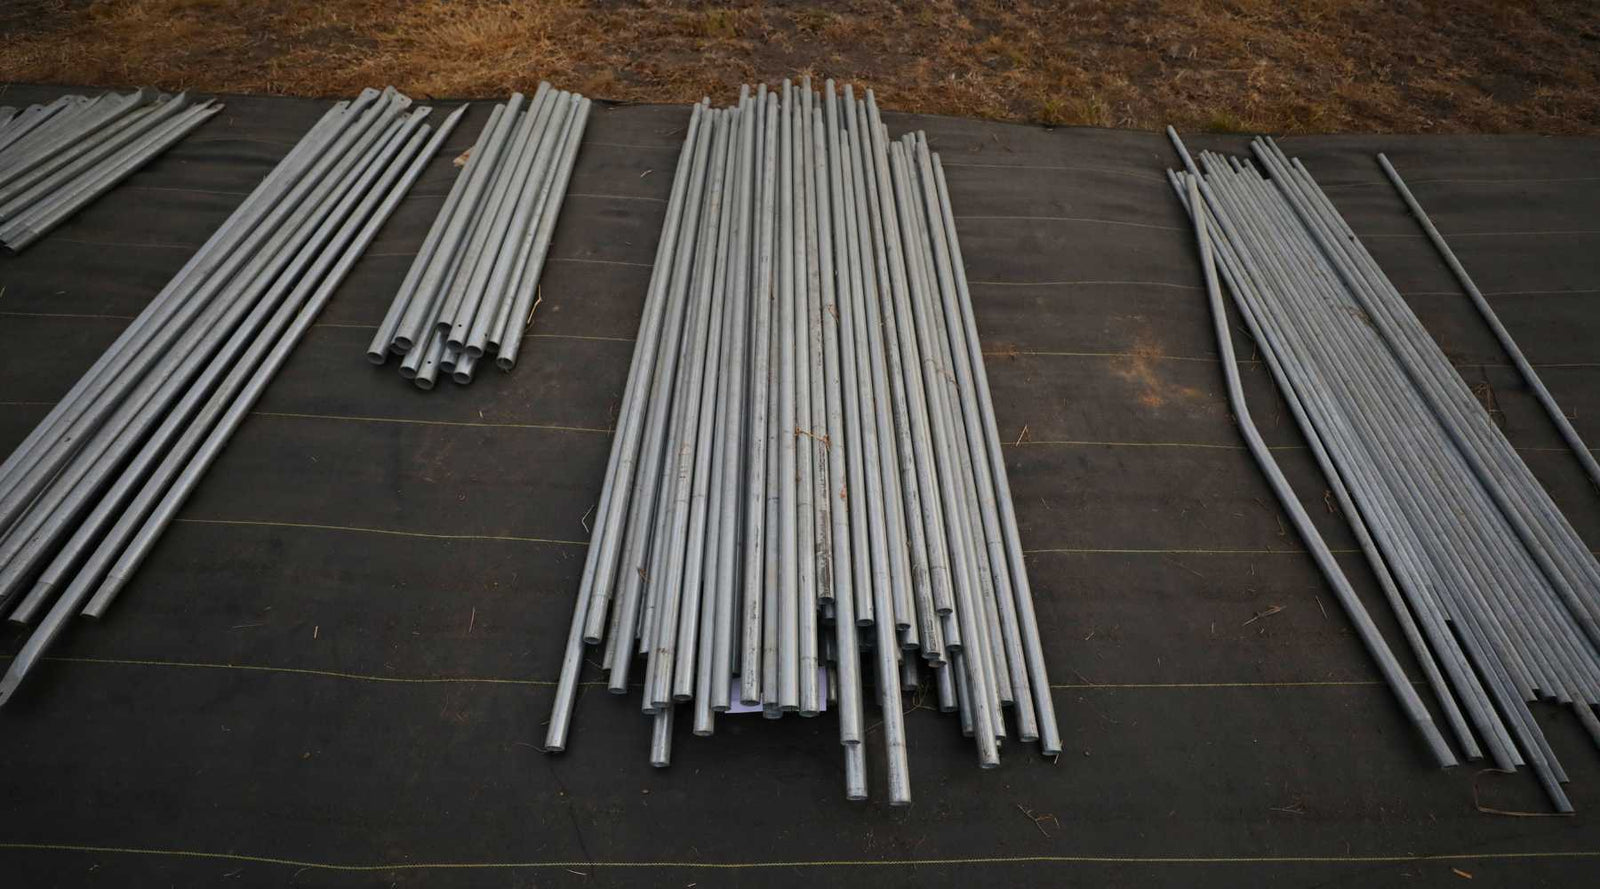
The ridge poles for our kits are made up of 75” pieces of 1 ⅜ tubing that are open on one end and swedged on the other. As you connect each piece together, you will put in a self-drilling screw through from the bottom or on the side to keep the lengths together.
Once the pole is in place, tighten the carriage bolts to keep the distance between the hoops even at 4' on center spacing. Once each hoop is plumb, we recommend adding a #8 self-tap screw to all tension bands and end wall cross connectors- but not the saddle-type cross connectors. Just make sure you are placing those screws facing downward to avoid issues with the greenhouse plastic.
Purlin Kits for Increased Strength and Stability
Most hoop house manufacturers, including us, have purlin kits available as an add on to any hoop house build. Purlins are used for hoop houses in locations where heavy wind or snow loads cause a need for increased strength of the structure.
Purlins are installed in the same manner as the ridge poles, but they come in pairs and add more rigidity to the structure. They are installed on the hoops halfway between the ridge pole and where you will be installing your hip braces in the next step.

Wind and Snow Load Considerations and Maintenance for Hoop House Style Greenhouses
When deciding to add a purlin kit or additional wind bracing it is important to consider the expected wind and snow loads for your geographical location. Water weighs 8.34 pounds per gallon, which can add up quickly over a large structure. If your area is susceptible to large storms and wet snow loads, removing snow build up will be an important part of your winter maintenance.
Ridge Poles and Purlins for Exceptionally Strong Hoop House Structures
This all-important step in the build process requires careful attention because the majority of the work will be done up on a ladder or some kind of lift. Having a few extra sets of hands during this step is incredibly helpful. Someone on the ground is best able to hold the ladder steady, hand you dropped hardware, and keep an eye on the straightness of the pole as you install it.
As you get towards the end of the installation, you may see some slight wavering of the ridge pole as it connects to each hoop. It is ok for there to be some slight variation here as long as the hoops are four feet apart and the connections are tight. If you are adding a purlin kit to your build, keeping a magnetic level in place as you tighten, each connection will give you the straightest, most secure attachments.
Once this step is complete, you will be able to see just how secure your structure is becoming. The additional points of connection between each hoop as you add hip and base braces in the next steps will further increase this stability. Once the plastic is installed over your entire hoop house, the tiny imperfections allowed will become nearly invisible.
What is a Truss Kit and How Does it Provide Rigidity?
A truss is a structure made up of connected pieces, such as triangles, squares, and other shapes, at various angles. Trusses provide stability for open-span structures like bridges and greenhouses by evenly distributing weight across the entire structure. A truss works by combining individual beams into a larger structure that can carry heavier loads over longer distances.
A truss in a greenhouse helps to provide structural stability and support by forming an evenly distributed load path from the enclosure's roof to the foundation. This load path is created by connecting triangular components, which are then joined together using metal bands and bolts. During wind and snow loads, the truss absorbs energy and helps distribute the force around the entire structure to prevent damage as the hoop house frame flexes.
How is the Truss Kit Built?
The Bootstrap Farmer trusses consist of a horizontal bar attached about ¾ of the way up on the height of a hoop house. This bar connects the hoops at two points and helps prevent side-to-side racking during wind and snow events.
You can add more support and stiffness by adding angled struts connecting the horizontal bar to the hoops, which even out wind and snow loads and deflect those live loads to the ground posts.
Bootstrap Farmer’s Truss Kit Components Consist of the Following:
- 1-⅜” Tension bands
- 78” Flat to Open
- 78’’ Flat to Swage
- 75” Swage Ridge Pole
- 24" Flat to Flat (for 14' Gothic Truss, no diagonal supports on 14' round)
- 36’’ Flat to Flat (for 20’ Truss)
- 48" Flat to Flat (for 30' Truss)
You can see how the Bootstrap Farmer’s Truss Kit system is installed at this link.
What can I add to my hoop house to make it stronger for wind and snow loads?
Trusses, wind bracing, purlins, ridge poles, hip braces, and base braces all add flexible strength to the hoops that make up the hoop house’s main frame.
Wind braces attached at the end walls on both ends and sides are then angled downward toward the ground post to help prevent rocking back and forth of the long side of a hoop house. Ridge poles, purlins, hip and base braces are all connection points that attach the hoops to one another.
We have written the articles below to help you understand wind and snow loads as well as what to expect in terms of maintenance to avoid problems.
WIND & SNOW LOAD CALCULATOR FOR HIGH TUNNEL GREENHOUSE
MAINTAINING YOUR HOOP HOUSE GREENHOUSE
What Else are Truss Kits Used for?
Trusses also expand a greenhouse’s versatility by giving growers an internal frame to hang circulation fans, irrigation lines, heaters, internal shade cloth for micro climates, hanging baskets, and internal supports for trellising lines for vine crops. Because the system distributes weight along the hoops to the ground they can support quite a bit.
How Many Truss Kits Do I Need?
You can select as many trusses as you like. Some growers want maximum support and will truss every hoop, while some growers truss a quarter of their hoops, knowing that they can always add more later. Even if the greenhouse plastic is already on their structure.
Just like how cooling a hoop house can be thought of as a layering system consisting of roll up sides, shade cloth, passive and active ventilation fans, and circulation fans. You can layer up the strength of hoop houses to suit your needs and the environment by adding support options like extra purlins, horizontal bars, truss components, and wind bracing. You can always discuss concerns or needs with one of Bootstrap Farmers Tech Specialists by calling (888) 406-1982 and selecting ext. 1.
Watch the Video:
Also in Building A Greenhouse

Avoid These Common Pitfalls When Assembling Tunnel Kits
Learn the top common greenhouse mistakes and the simple ways to avoid setbacks.


Breaking Down the Cost of Greenhouse Installation
Knowing the potential hidden costs before you order a kit is essential for a successful build

Gothic vs. Round Hoop House Which One is Right for You?
Each shape offers unique benefits to growers.
Read More