Free Shipping on Orders over $75 to the Contiguous US
Free Shipping on Orders over $75 to the Contiguous US
Poppy Cultivation for Flower Farmers
April 25, 2024 9 min read 0 Comments
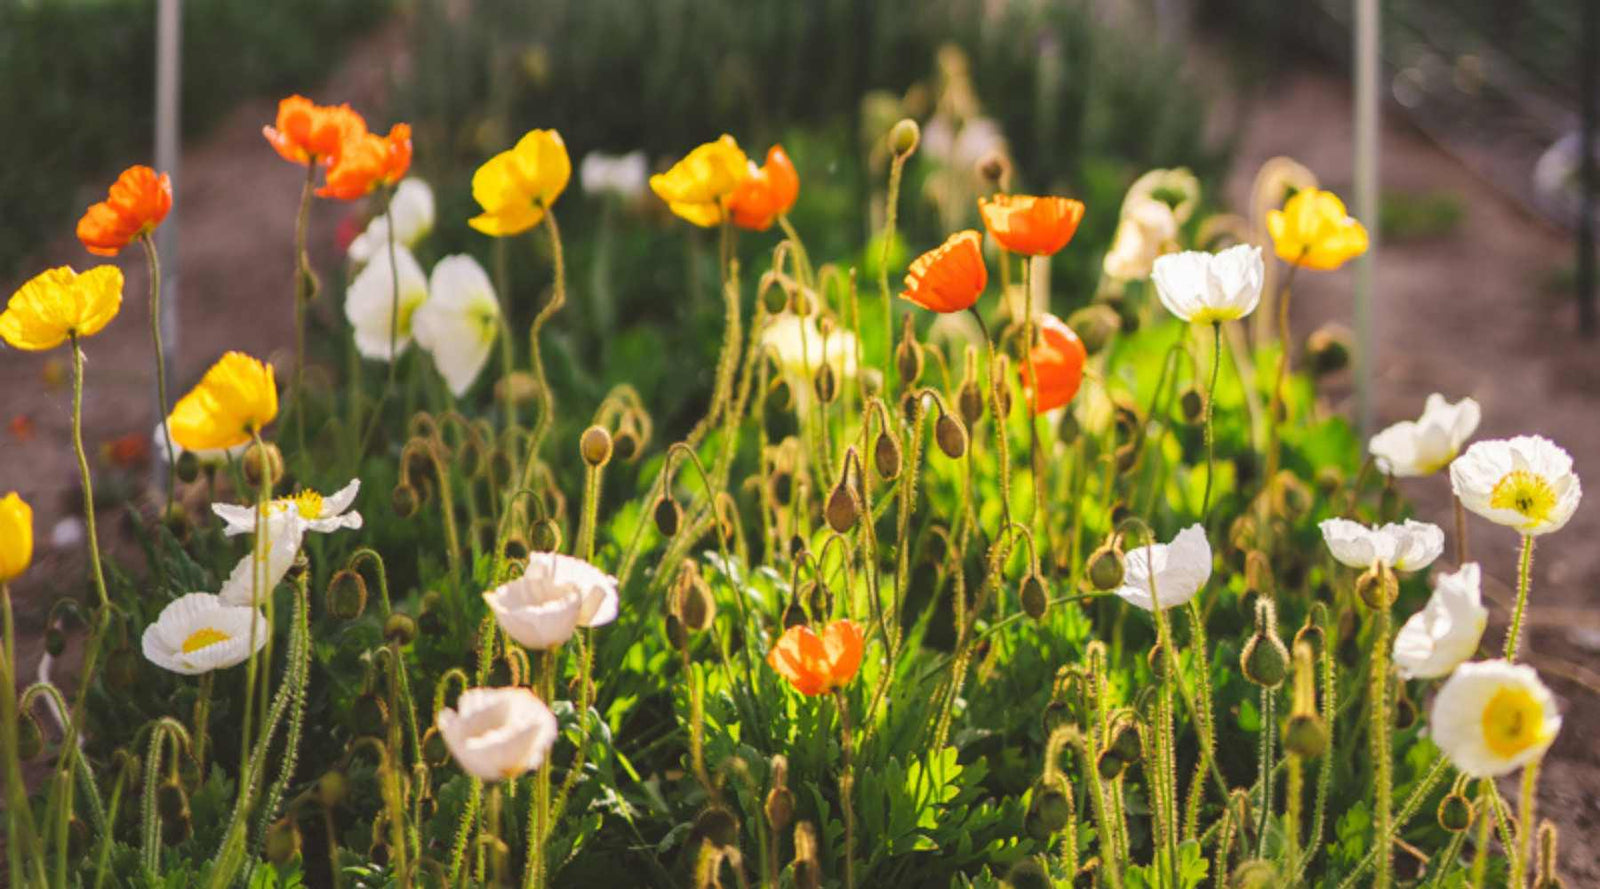
Growing poppies on the flower farm
At Sierra Flower Farm, one of the most joyful spring-blooming flowers we grow is poppies. Their crepe-paper-like petals and prominent centers atop slender stems create fluttering movement in floral designs and bouquets alike!
These lovelies can be tricky to get started and to harvest appropriately.
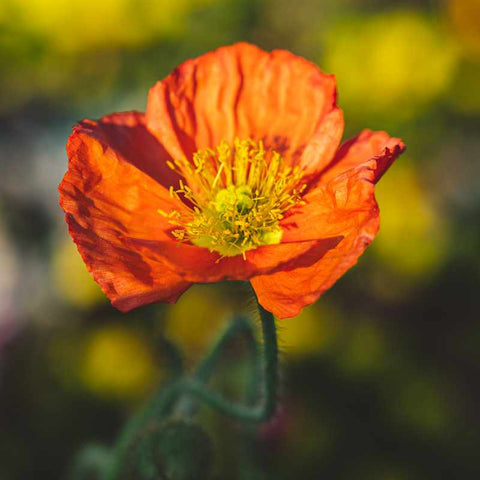
Using Poppies in Floral Arrangements
Poppies have become increasingly in demand recently, especially for wedding floral arrangements. Their incredibly graceful appearance provides a soft design element while still demanding attention.
There are a handful of different varieties of poppies suitable for cut flower use that provide a good vase life. Still, many other types of poppies are great for landscapes or are grown for their seed pods instead of flowers.
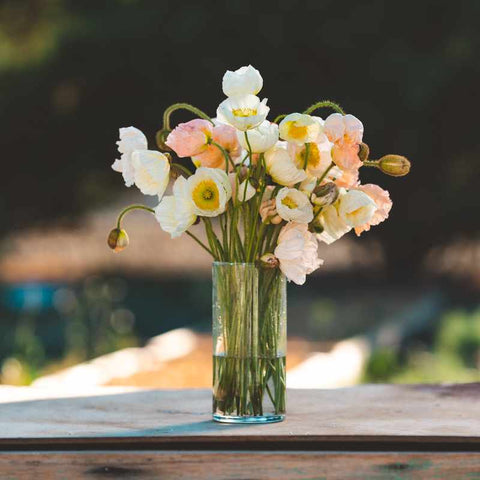
Poppy Cultivars for Cut Flowers
Breadseed Poppy (Papaver somniferum)
The breadseed poppy is most commonly grown for its seeds. If you have ever eaten a lemon poppy seed muffin, then you have eaten the seeds of this poppy. The flowers of the breadseed poppy are similar to a peony, but unfortunately, the flowers shatter quickly and easily.
As cut flower growers, we don’t have a use for the tiny seeds themselves, but the breadseed poppy’s large seed pod looks beautiful and unusual. The pods are lovely as floral components and can even be dried for use in winter arrangements and dried flower bouquets.
Breadseed poppy’s days to maturity are 80 to 90 days for flowers and about 100 days for seed pods. Breadseed poppy seeds grown as floral components are Giant Rattle, Giant Pod, Rattle Poppy, Ziar, and Florist’s Poppy.
Related: Tips for Dried Flower Farming Success.
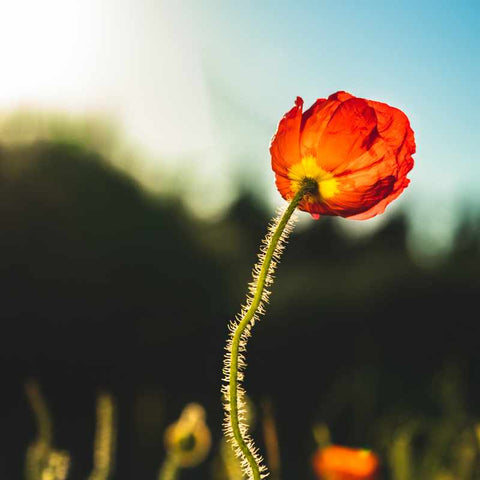
California Poppy (Eschscholzia californica)
You may already be familiar with the California poppy from its bold orange flowers amongst fern-like clumps growing. However, don’t be put off by the bold orange since more desirable colors are available. Thai Silk cultivars are incredibly swoon-worthy in apricot and rose colors.
The stems of California poppies aren’t long for mixed bouquets but make a lovely addition to design work, such as in arrangements or bud vases.
The flowers fade quickly, but much like godetia, there is a cluster of flowers per stem. As one flower fades, a new one comes into bloom. The California poppy’s days to maturity are between 55-60 days. Thanks to their natural hardiness and quick blooms, these are a great variety to have on hand when filling in a color or component gap in the production field.
Corn Poppy (Papaver rhoas)
Corn poppies are commonly grown in the garden to admire and are also known as Shirley poppies. You have probably seen the scarlet red ones with dark centers that look almost like an anemone. We grow corn poppies mainly for design work since they have a shorter vase life. They often develop as a spray, similar to the California poppy, but on longer stems. As one flower fades, the other will open giving a slightly longer vase life. Each flower only lasts about a day or two, though.
Corn poppies are desirable to us for event work because of their stunning colors. Amazing Grey is a smokey lilac that is reminiscent of early grey tea. Mother of Pearl and Bridal Silk are two other colors with unique coloring that are especially useful for weddings.
Iceland Poppy (papaver nudicaule)
When a florist bride or customer asks for poppies, they are most likely referring to Iceland poppies. These poppies are available in a rainbow of colors, and the flowers have a great vase life.
Champagne Bubbles is an affordable yet highly prolific cultivar in white, orange, pink, yellow, peach, scarlet, and mixes.
The Italian Colibri cultivars are often the poppies seen on social media. The Colibris, also known as a Hummingbird poppy, has spectacular flower head sizes, often bigger than the palm of your hand. The seeds are patent-protected and pricey but indispensable as a spring focal flower in soft pinks, peaches, and whites.
Iceland poppies’ days to maturity are 85 to 120 days, depending on the cultivar.
How to Grow Poppies
When poppies come into bloom
Poppies are typically a spring-blooming flower, preferring daytime temperatures between 60-70 degrees Fahrenheit. Once temperatures begin hovering in the high 70s-80s Fahrenheit, the plants will start shutting down, producing less usable stems.
Climates with cooler nights can sneak in a couple of extra weeks of harvest with increased temperatures. Our growing patch usually has poppies from May through June, sometimes into early July in cooler years.
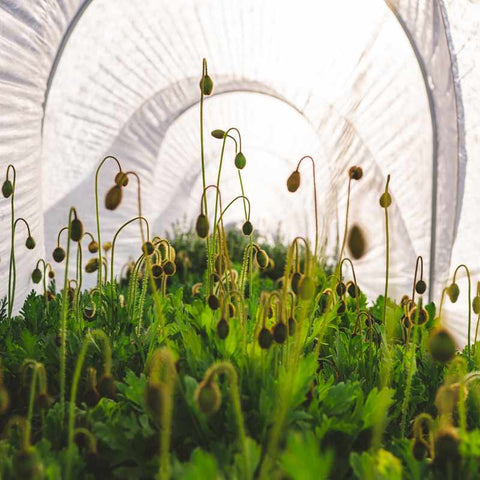
Adding shade cloth to your rows can give you a few extra weeks of growth in the heat of early summer. You can also get blooms earlier in the season by growing them in a high tunnel or CAT tunnel.
In the past, we have experimented with fall-blooming Iceland poppies, which produce adequately, but are less prolific than the spring ones.
Related: Season Extension on a Flower Farm.
When to start and plant poppies
Poppies primarily grown for spring harvest are either fall-planted in USDA hardiness zones six and higher or started indoors during winter to be planted in early spring.
Succession planting poppies
Poppies can be succession grown in three- to four-week intervals. We aim for two successions to have them throughout mid to late spring, starting the first round of Iceland poppies in mid to late January and the other cultivars in February to harvest May through June.
Growing Poppies from Seed
Iceland Poppies
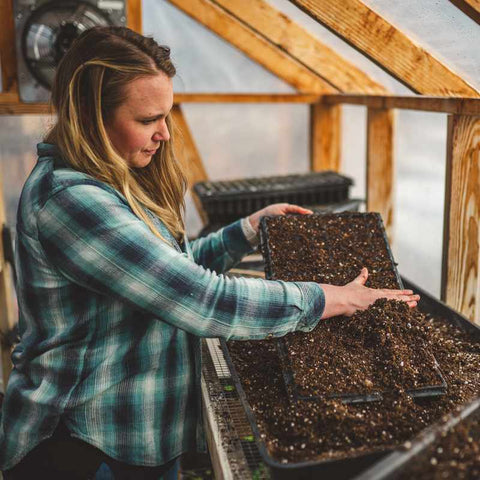
Iceland poppies can be started from seed, or you can save yourself the headache of getting them to germinate and just purchase plugs. Growing Iceland poppies from seed takes some patience, but they are tough little plants once they start growing.
Most poppy seeds, particularly the Iceland poppies, come “primed.” This means the seeds have been pre-treated to aid in speeding up germination. If the seeds have been primed, it will be indicated on the packaging.
Iceland poppies can be slower to germinate even when primed, especially the Colibri, which can be frustrating. Despite the slower growth, we opt to grow our Iceland poppies from seed for several reasons, including cost and seedling quality.
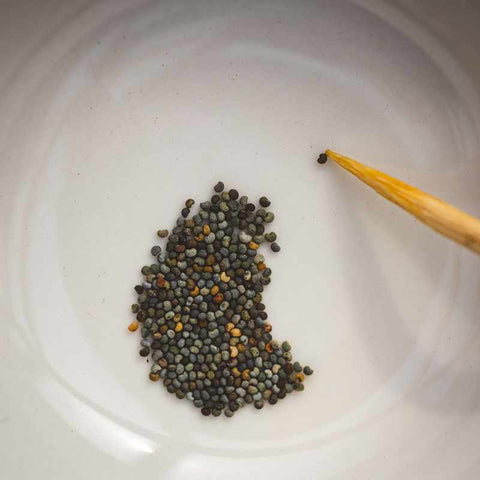
Iceland poppy seeds are incredibly tiny, looking like black specks to the naked eye. You can use your fingers to sprinkle the seed on top of the soil (surface sow), or we prefer to use a bamboo skewer dipped in a bit of water to delicately place each seed into a cell. This keeps us from accidentally sowing too many seeds together.
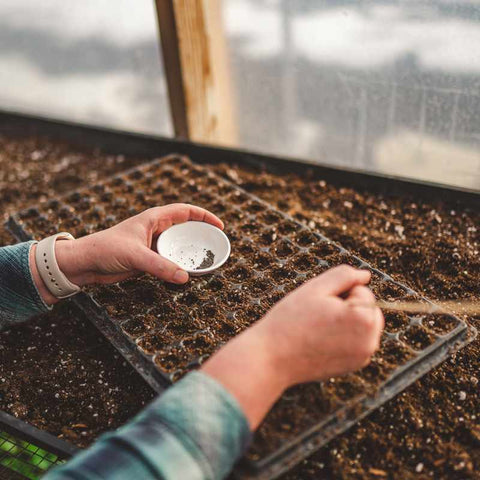
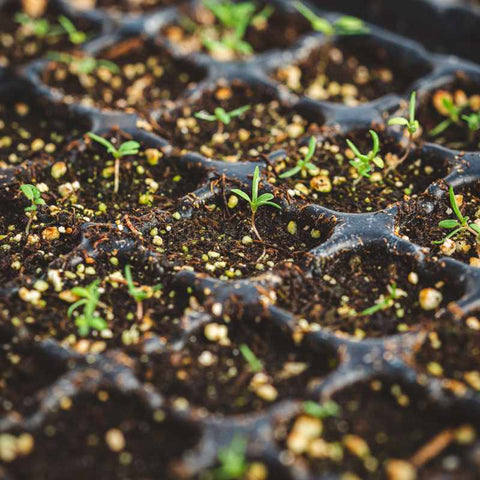
We prefer to start Iceland Poppies in either micro soil blocks or 128-cell propagation trays. Depending on the season’s weather, we may bump the seedlings into 2-inch soil blocks or 72-cell propagation trays. Iceland poppy roots are fairly forgiving when tampered with.
Along with patience, another critical factor when starting Iceland poppies from seed is germinating them on the cooler side, keeping the soil temperature between 60-70F. A humidity dome and heat mat set at no more than 70℉ will speed up and increase the germination rate. Remove the dome lid once about 30%-50% of the seeds have germinated.
Keep the soil moist, not overly saturated, and bottom water seedlings until established. A light dusting of vermiculite can help suppress algae growth during the growing process. The biggest woes in getting poppies to germinate are typically loving them too much: over-watering, over-fertilizing, and hovering in general.
After eight seasons of growing Iceland poppies, they have become one of the easier crops we grow from seed once we realized they will eventually germinate in about two to four weeks.
Germinating Other Poppy Cultivars
Breadseed, California, and corn poppies are quicker to germinate and grow than Iceland poppies but they don’t love being root-bound; in our experience, they are more sensitive to this than Iceland poppies.
Even though they prefer to be directly sown, we have successfully grown them as transplants. We like to start them later than the Iceland poppies and have growing beds prepared to quickly transplant them out once they are at the proper size. They are generally ready for transplant in about four to six weeks.
California poppies and breadseed poppies are the same as the Iceland poppy in terms of starting. The corn poppy, however, needs darkness to aid germination; therefore, cover the seed with a dusting of soil or vermiculite, which is no more than an eighth of an inch. Alternatively you can use a blackout dome to keep them in the dark until germination.
These cultivars of poppies also benefit from growing cooler, at temperatures between 60-70F. With the germination speed for these cultivars, we have found a heating mat or dome lid to be unnecessary. You can expect to see germination in one to two weeks.
Direct Sowing Poppies
Poppies can be directly sown in the garden bed for growing zones six and higher in the fall. However, in growing zones five and below, they can be directly sowed as soon as the soil is workable in late winter through early spring.
Planting and Maintenance of Poppies
Poppies are relatively cold-hardy and can tolerate light frosts. Harden off seedlings for a week or two before planting out. Poppies are flexible regarding the amount of sunlight needed and can be planted in either full or partially sunny growing beds.
The ideal spacing for poppies is 6-9 inches. We grow all our poppies at our standard spacing, 7” x 7”.
Poppies thrive with consistent watering through drip irrigation. The taller breadseed and corn poppy cultivars benefit from horizontal trellising. To help with weed pressure, we have found planting in weed fabric to help immensely in allowing the poppy plants to fan out and shade out late season weeds.
Since we are planting out poppies typically in the volatile early spring months, at a minimum, we plant them under a frost-cloth micro-tunnel or a full double low tunnel in chillier years.
Poppy Pests and Disease
Thrips are our number one enemy when it comes to poppies. Not only do they weasel their way into the buds before they’re ready to harvest, but their vampire-sucking habits leave unsightly wounds on the stem where the sap from the poppy is released.
Slugs are another foe for poppies, especially younger plants. Earwigs and caterpillars have also been problematic for this crop.
Proper crop rotation and keeping up with your integrated pest management system with can help keep the pest pressure at bay. We use a combination of insect netting applied over hoops in the early season, proper pesticides, beneficial insects, and nematodes applied during the season.
Poppies are vulnerable to damping off, especially at the seedling stage. Along with damping off, they are susceptible to crown rot. Using quality substrate, proper airflow, and not overwatering aids in the prevention of these fungal issues.
Harvesting Poppies for Cut Flowers
When and How to Harvest Poppies
Poppies are best harvested early in the morning, though, in peak season, you may also find yourself harvesting at dusk. Poppies are usually the first crop I start my day harvesting to beat out any pollinators, which will decrease the vase life of the flowers. Harvest the poppies at the “cracked bud” stage for the longest vase life. This is where the bud is still intact but with color peeking at the edge.
Freshly opened poppies can be used for event work but will fade more quickly, not to mention the petals are more easily bruised.
If growing breadseed poppies, harvest at the desired seed head size. The seed pods can also be dried to be used for off-season products. To harvest poppies, you will cut down to the base of the plant.
Each of our poppy bunches has twelve stems, though we only charge for ten. Sometimes poppies can be fussy and not open, so providing a couple of extra stems keeps customers from disappointment.
Postharvest Care for Poppies
As you harvest, you may notice a milky fluid, the poppy’s “sap,” a latex substance which clouds the water and may shorten the poppy’s vase life.
A common posthandling practice of poppies is to sear their ends with flame or boiling water until the stem turns a bright green to stop the milky secretion from oozing. You can skip this step if you will be drying the poppies, storing them dry, or placing them in holding water before using them in arrangements.
Harvested poppies can be placed in a sanitized bucket of water with a CVBN tablet or stored dry in a cardboard box. Poppies can be stored in the cooler for up to a week in water or dry at the cracked bud stage. When dry storing poppies, it is best not to treat the stems since the ends will callus over in storage.
The expected vase life is five to seven days for Iceland poppies. Thanks to their multiple flower heads, corn and California poppies can give a seven-day vase life. Breadseed for the flowers has a vase life of about two or three days tops, and, as a seed pod, can be everlasting.
Poppies for Floral Designs
Poppies add a gentle touch to floral designs and bouquets. The larger ones can be used as a showstopper focal flower, while smaller ones pair amazingly with peonies and ranunculus as a supporting flower or “disk” component.
Their long, slender stems are especially lovely placed on the outer parts of bouquets, giving them the appeal of fluttering in the design. The shorter-stemmed California poppies are beautiful added to a bud vase or low-profile arrangements.
Sometimes, the sepals (outer poppy shell) don’t want to come off easily. If that happens, start at the stem and carefully peel off the sepal, allowing the flower to open.
Poppies generally perform best in designs with a water source, except the breadseed pods, which you can use without a water source. The smaller breadseed poppy pods are great for corsages, boutonnieres, and other wearable floral designs.
When using poppies for wedding work, such as a bridal bouquet, be sure to supply a container with water and instructions to place it back in water between use. Floral foam or alternatives such as agrafoam or oshun pouches are not recommended, especially for designs in full sun, since they tend to wilt in our experience.
Poppies are prolific, tough, and beautiful cut flowers. They are best when they come from a local grower, making them a great spring variety for the flower farmer to offer. Whether for a Flower CSA, a compote arrangement or to sell wholesale, they will surely delight your customers.
Written by Jessica Chase of Sierra Flower Farm.
Photography by Graham Chase, Sierra Flower Farm
Subscribe
Sign up to get the latest on sales, new releases and more …
