Stacking trays of Microgreens

Stacking Trays of Microgreens for Germination
The common practice of stacking microgreen trays is useful for encouraging even germination and saving space in the grow room. Following a few best practices and the optional sterilizing procedure can help you to get consistent results when growing microgreens at any scale.
Why stack trays for germination?
Stacking trays of microgreens during the germination phase encourages even sprouting and growth by applying even pressure to the seeds to simulate being planted underground. This pressure also helps the seed to shed its coat resulting in a cleaner end product with less possibility of deformed leaves. The added pressure also serves to strengthen stems as they grow which keeps the greens from falling over once they are taller.
Best practices for stacking trays of microgreens
The suggested steps will help you get consistent results from any microgreen seeds that should be stacked for germination. These practices assume that you will be using a growing media with a soil or coco coir base although they will work equally well for growers using hemp mats or other hydroponic media like screens.
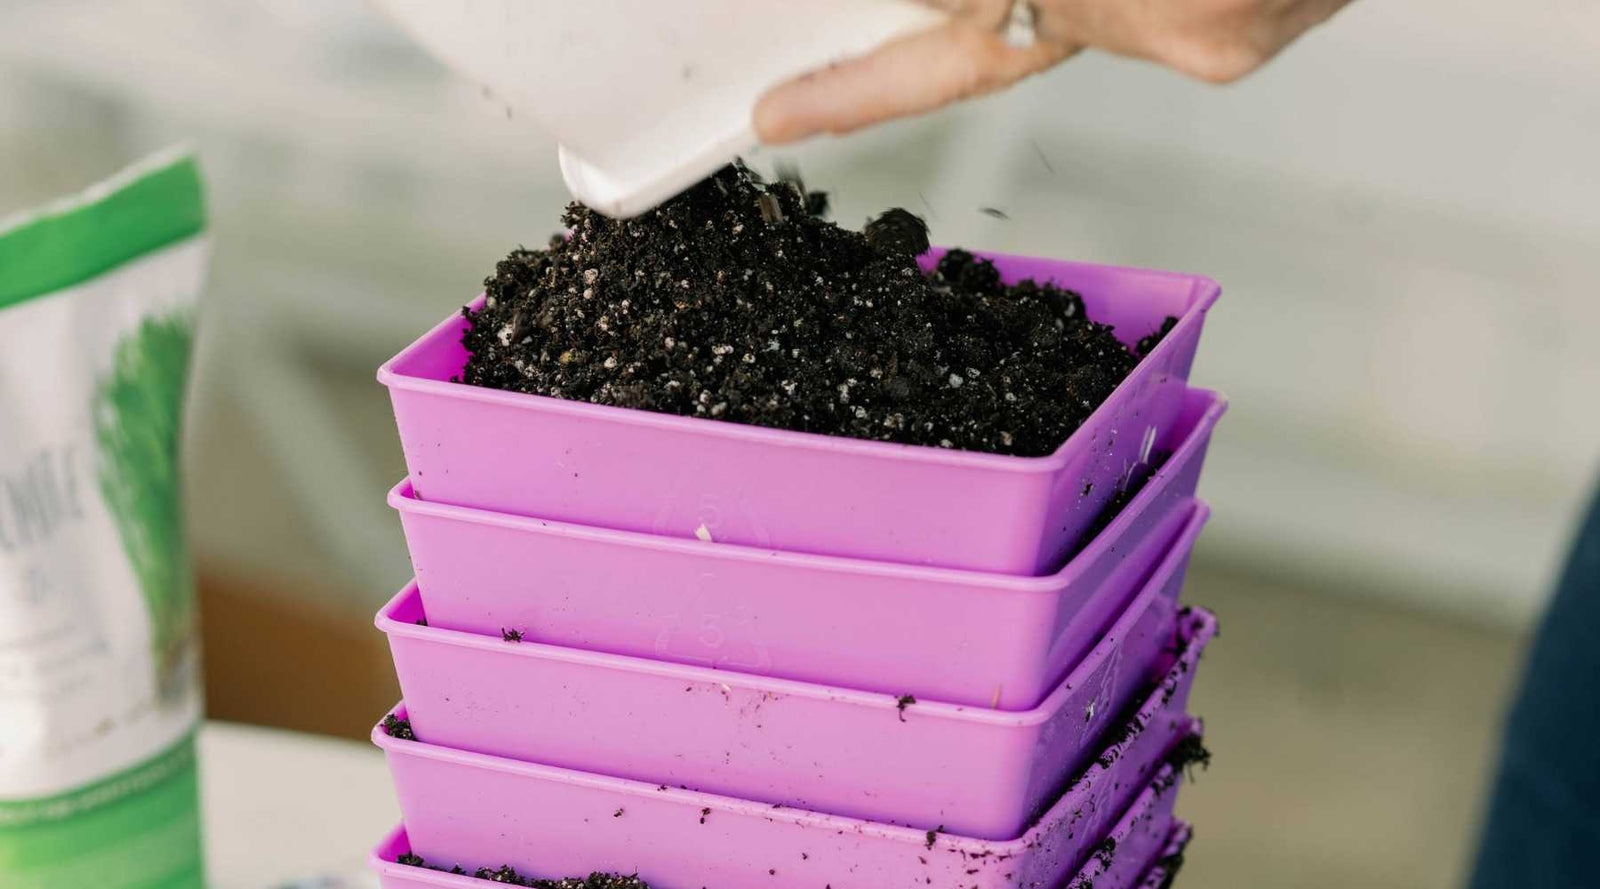
- Prepare your shallow trays with holes by filling with media and using a tray with no holes to evenly press the surface flat. Place each filled tray with holes inside a tray without holes.
- Moisten the growing media thoroughly until it has the dampness of a lightly wrung out sponge. (If using the sterilizing procedure outlined below, mist the surface with h2o2.)
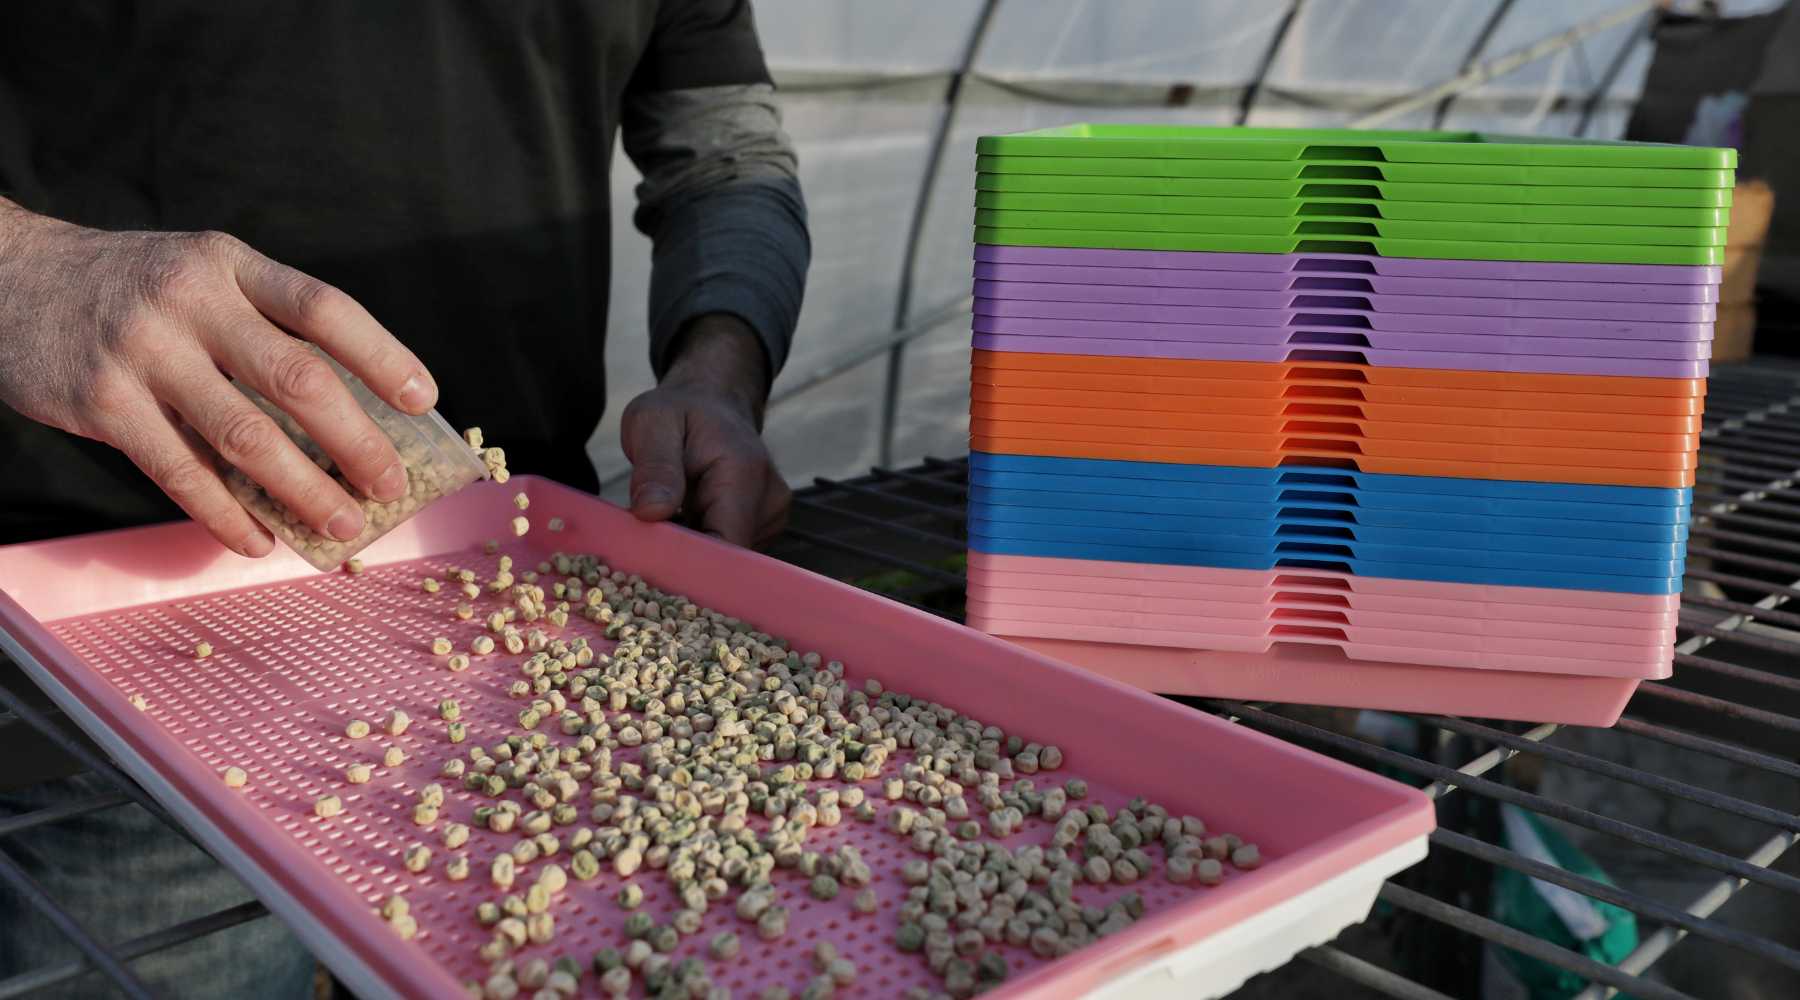
- Evenly spread the seeds across the soil surface.
- Mist again with water to thoroughly wet the seeds. (If sterilizing mist first with h2o2 and then with water.)
- Place the filled and planted trays on top of one another so that the tray with no holes rests on the surface of the soil and seeds.
- Place an empty tray with no holes on the surface of the top most tray.
- Place an even weight in the top tray of around 5-10 pounds. Many growers use bricks or paving stones. For smaller trays you can use jars filled with sand.
- Keep trays stacked for the recommended time frame.
- Check the moisture level of the soil daily and mist lightly if needed.
- Unstack and place under lights or under a blackout dome depending on seed type.
How long should trays be kept stacked?
Trays should be kept stacked for anywhere from 2 to 9 days depending on the type of seeds you are growing. For specific time frames you can refer to our Bootstrap Farmer Ultimate Microgreen Cheatsheet that lists over 40 common types of microgreens and the recommended soaking, stacking and growing times for each.
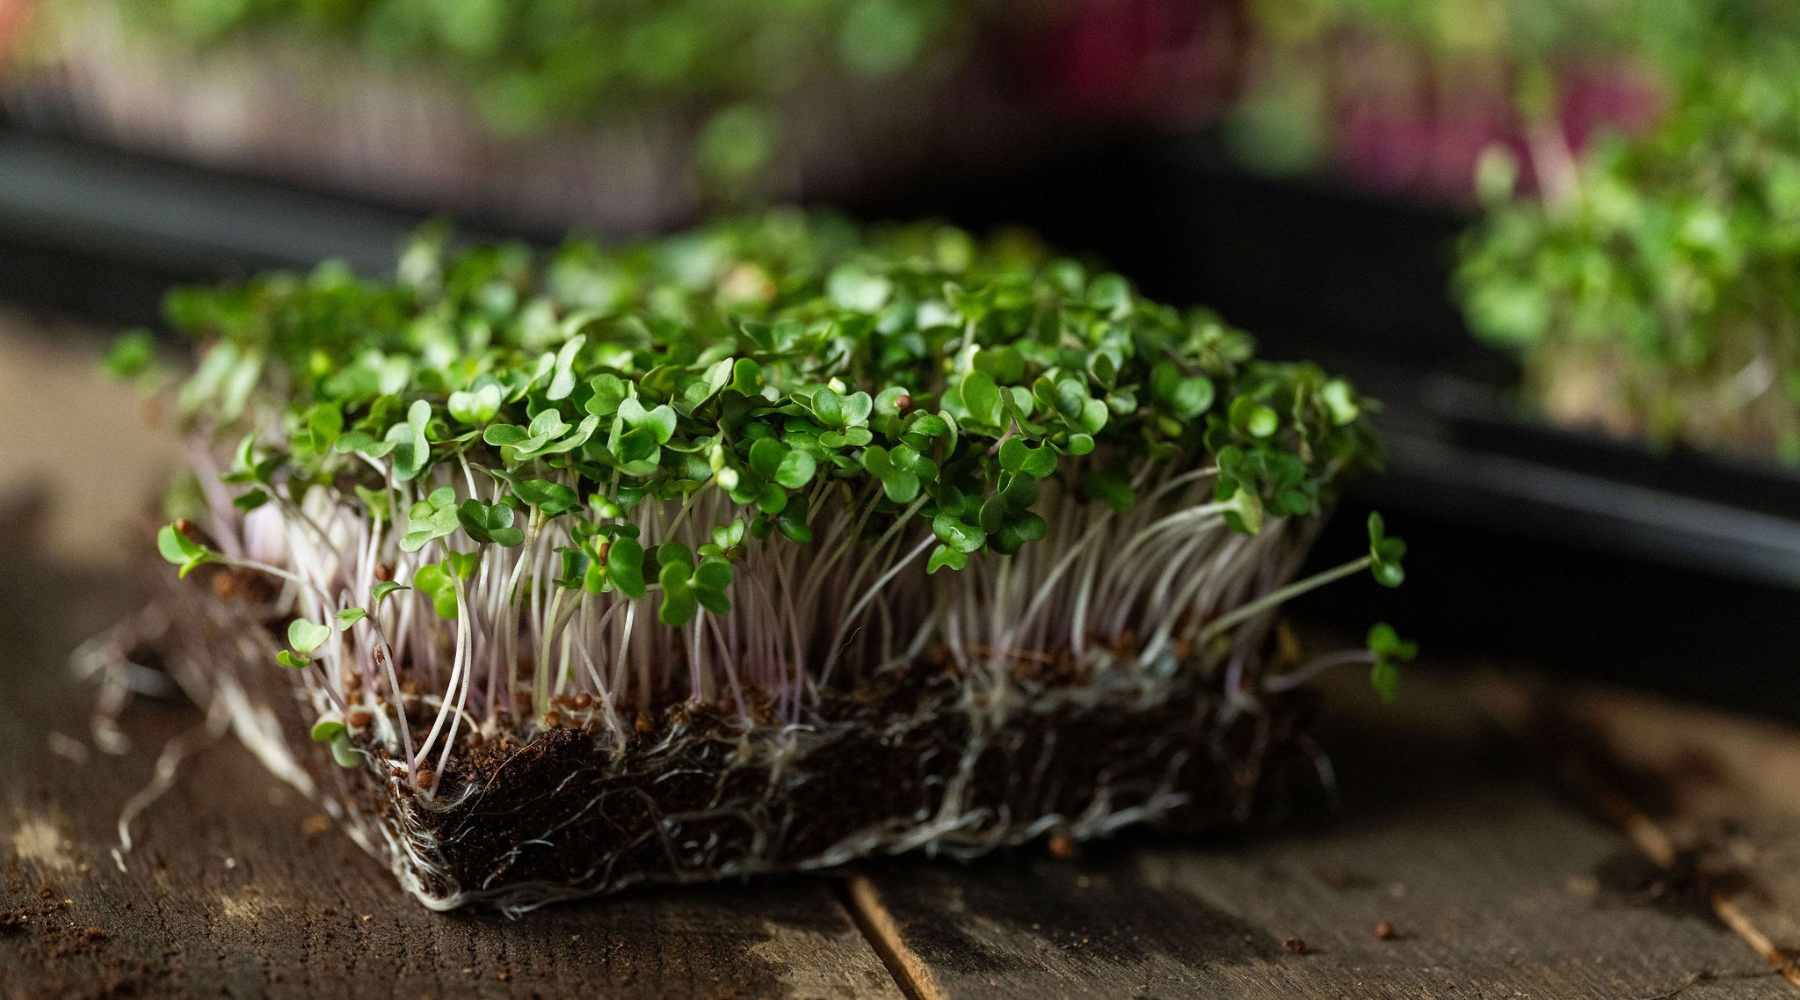
As a general rule the trays should be kept stacked until the majority of seeds have sprouted and the plants are between a ¼ and ½ an inch tall. In some cases using a blackout dome after the stacking period is recommended to help the plants reach an easily harvestable stem height. For more on this practice you can read our article on When to Use a Blackout Dome.
Should you sterilize your seeds before planting?
Although low humidity and good air flow are the best ways to prevent mold growth in grow rooms, sterilizing growing media and seeds can also help prevent mold. The practice of using h2o2 can help prevent mold on growing trays that comes in on the seed coat or growing media.
For smaller seeds you can help deter mold growth by using a 3% h2o2 solution to mist the growing media before planting as well as the seeds after planting. Be sure to mist again with pure water after 5 minutes.
If the peroxide is left on the seed too long the chemical reaction can cause the seeds to heat up and air pockets to form between the seed and its hull. This can result in less than stellar germination rates as water does not get to the seed within the coat. If you will be sterilizing a lot of trays, you can mix your own 3% solution by following the instructions at the end of this article.
Should all microgreen seeds be stacked for germination?
Not all microgreens should be stacked for germination and early growing. Seeds that are too sticky or require light to germinate cannot be stacked. The following types of microgreens should not be stacked. This list is not exhaustive but should help you decide which similar types should be left out of the stack and germinated under a humidity dome or blackout dome.
Seeds that are too sticky or mucilaginous to stack
- Basil
- Brown Mustard
- Chia
- Curly Cress
- Celery
- Chervil
Germinate better with some light
- Lettuce
- Carrots
- Chrysanthemum
Do you need to soak seeds before stacking?
Some larger types of seeds for microgreens should be soaked before stacking. You can find in depth instructions on When and How to Soak Microgreen Seeds in this article. The most commonly grown microgreens that need to be soaked for proper germination are peas and sunflowers.
MIXING YOUR OWN HYDROGEN PEROXIDE
A concentration of 3% h2o2 is ideal for sterilizing seeds and grow room equipment. Store bought 3% hydrogen peroxide from a pharmacy is often treated with stabilizers to extend its shelf life. Since it is not a food product companies are not required to tell you what these stabilizers are.
We recommend using a food grade 3% h2o2 solution for your sterilizing solution. It is far more economical to purchase the more concentrated 34% solution and dilute it down yourself just before using. The 34% solution can be found in many hydroponic and aquarium supply stores and is often labeled as an oxygenator.
Use extreme caution during the mixing process and wear protective equipment; long sleeves, gloves and safety glasses. 34% h2o2 is an acid and will burn skin as well as bleach fabrics. Mixing it at a ratio of 10 parts water to one part concentrate creates a milder solution that is far less dangerous but can still cause bleaching and skin irritation.
Try not to mix more than you plan to use in a week at one time. Store in a sealed container to avoid spills.
Also in Microgreens Guides & Resources

What Lights Do I Need to Grow Microgreens?
Microgreens grow well under a variety of light sources. This means it is easy to start where you are and add on as your needs and your available funds increase. A few trays in a sunny window for the home grower, up through multiple vertical rack systems with dedicated growing lights for commercial production.
Read More

How To Grow Microgreens Indoors - SEED to HARVEST
Whether you're just starting out or looking to refine your skills, this step-by-step guide will empower you to grow perfect trays of microgreens right at home.
Read More


A Quick Guide to Starting a Microgreens Business
When he started his farm and business in 2016, Donny Greens never imagined microgreens changing his life in the ways that it has. In this article, he gives you his best advice on how to start a microgreens business.
Read More