Easiest Way to Water your Seedlings

There are two basic ways to water your seedlings. Each has their own benefits, however we have our own preference once seeds have germinated, the second method "Watering from Below". This is also the preferred method for watering microgreens which is reviewed more in depth in our How to Water Microgreens article.
WATERING SEEDLINGS FROM ABOVE
The first method and the traditional one is to "water from above". This method has its place, especially with surface sown or shallowly planted seeds, when watering from the bottom may not be enough to reach the seeds.
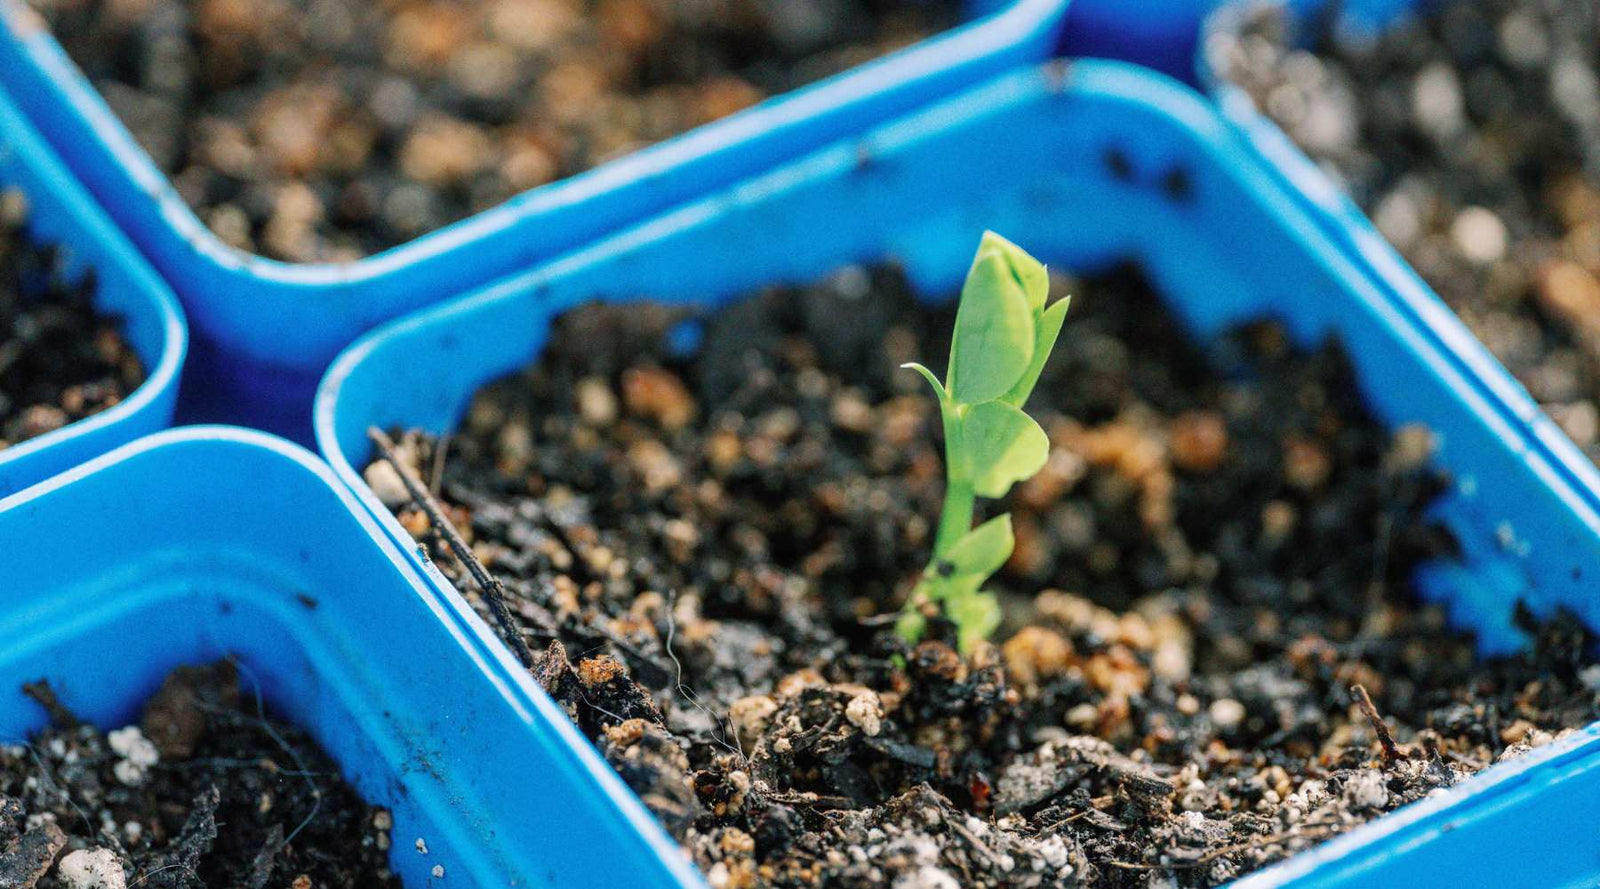
Before your seedlings germinate, the easiest way to water smaller, shallowly planted seeds is with a mister or very gentle spray bottle. Using a watering can or hose without a mister can displace smaller seeds and can make it easy to over-water.
After seeds have sprouted, watering from above with any force is likely to knock over the fragile seedlings. This is why it's best to use a mister. With a mister or spray bottle, you have to be willing to check on your baby plants at 2x a day to make sure they don't dry out. You'll also want to use a cover or humidity dome during this early germination process to keep the moisture in.
WATERING SEEDLINGS FROM BELOW
Our preferred method of watering is from below. In our experience, it offers the most effective and reliable of the two options. Watering from below relies on capillary action, wicking of the water through the soil from the bottom working its way up to the top. There are a few different methods to successfully bottom water seedlings.
Regardless of the method you use, we recommend starting off with a medium that you pre-moisten. This will ensure your seedling is placed properly within the cell and has ample water to get started. You may also want to consider using a seed starter kit. These include a humidity dome that keeps the moisture in similar to a greenhouse.

Bottom Water with 1020 Trays
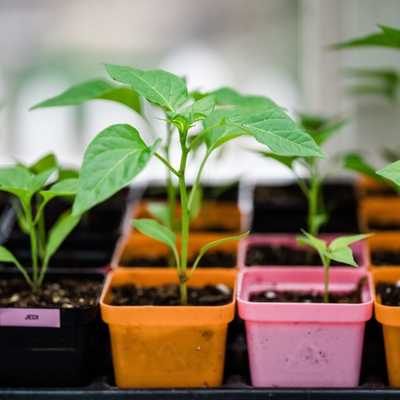
With this method, you'll place your cell tray (or other growing pot with holes) in a 1020 tray with no holes. The main advantage of this method is how easy it is to get started, but make sure you check it each day. It's a good idea to use a cover or humidity dome for the first few days.
We recommend filling with enough water to cover the entire bottom of the tray with about a 1/2 inch, ideally in the morning when lights are in use. Return and check trays mid-afternoon until your plant's water needs are dialed in. If you completely overdid it, remove the top tray and drain out the excess.
Bottom Water with Flood Table
The most consistent bottom watering is achieved with a flood and drain table on a set schedule. You also get the added benefit of not damaging the seedlings’ roots by having to move the trays around during the watering process.
For early growth phases a 30 minute flood once a day is typically enough to keep seedlings moist. If you have high airflow or very low ambient humidity you may need to increase the watering frequency to twice a day.
DANGERS OF OVERFILLING THE BOTTOM TRAY
When using the bottom-watering method with seedlings and microgreens, growers often fill the bottom trays too full. This mistake can become an issue because stagnant water left in the tray can allow water-borne bacteria to thrive. Trapped moisture and germination temperatures make a perfect incubator for anaerobic bacteria.
This is why most hydroponic systems like our automated grow rack have bubblers to keep oxygen circulating through the reservoir when the pump is not running. It can also be helpful to add H2O2 to the system periodically to clean the drains and valves.
JUDGING MOISTURE LEVELS BY WEIGHT
Once you have this trick down, we promise it is an easier way. When new growers are trying to learn this method, I recommend that they properly saturate whatever they are growing and pay close attention to how it feels. Once you have done this a few times, you will never go back to relying on "eyeballing" the moisture level or inserting a finger to test it. This is important as it is a more reliable gauge than previously noted methods. In conjunction with bottom-watering, this method will ensure that your plants get all of the moisture they need.
OTHER BENEFITS OF BOTTOM-WATERING
The beginning stages of germination require the surface of your seed starting mix to be moist, but once you see newly sprouted growth, it's time to ditch the topwater. Why? Because it can cause damage to the seedlings, and having any wet foliage can put your plant starts at risk for fungal issues. It is also imperative to water from below if using nutrient solutions as you do not want those to touch delicate growth. Nutrient solutions can easily burn foliage.
Also in How to Grow Seedlings

Soil Blocking 101
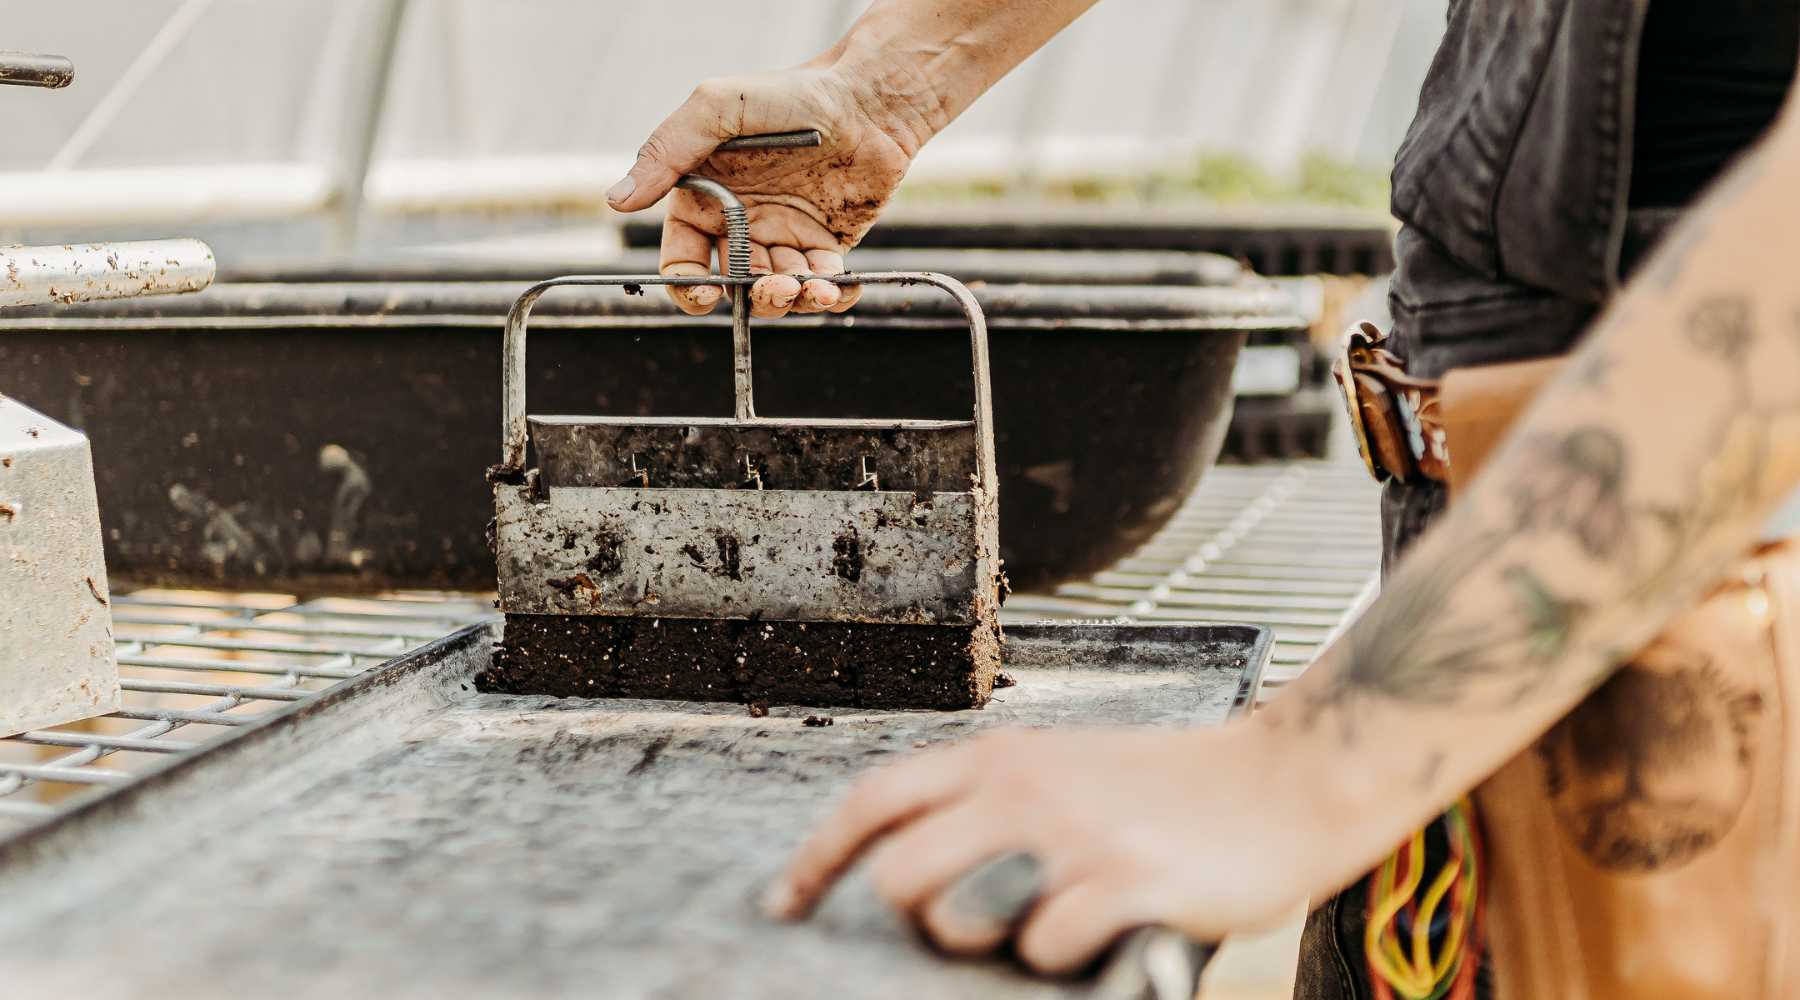
Soil blocking is a method of propagating seedlings that involves filling a metal blocking tool with soil and squeezing to form a compressed cube. Seeds are planted directly into the formed block. Soil blocks come in various sizes and are advantageous for air pruning roots.

How to Use a Humidity Dome for Seed Starting
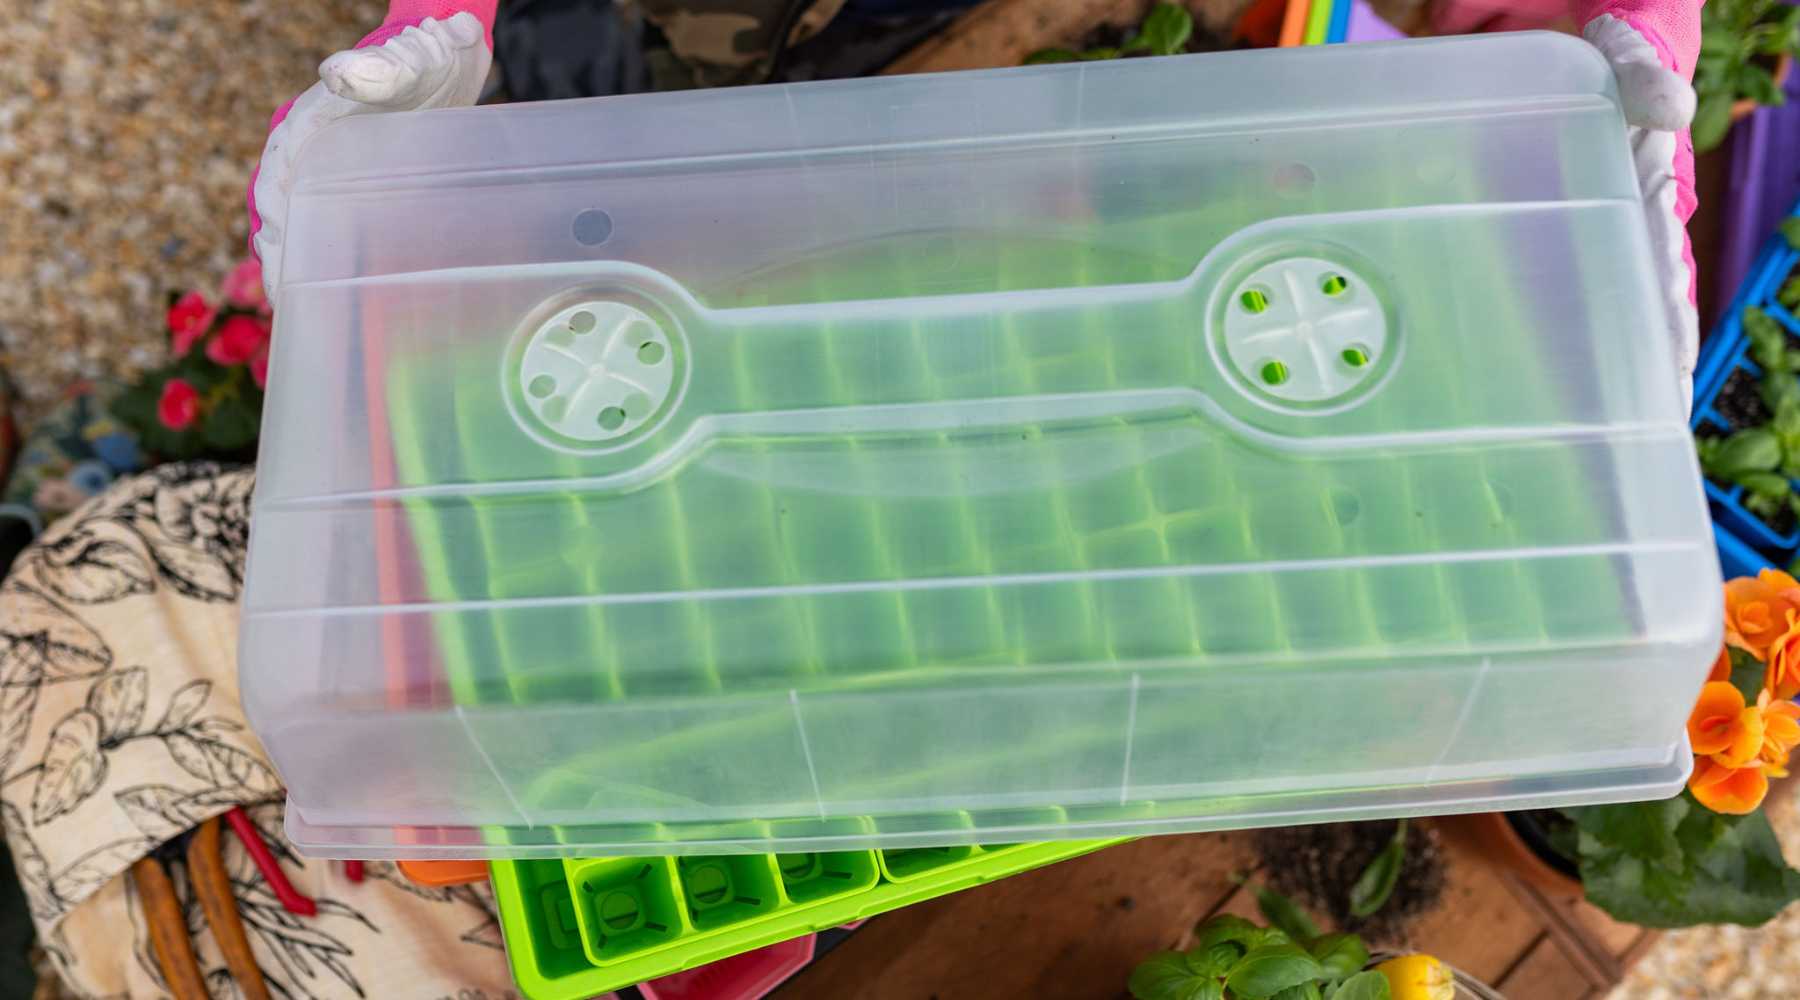
Starting up seeds for this year's garden? Here is the lowdown on the humidity dome debate when starting seeds in cell trays or starting a tray of microgreens. Humidity domes are a useful tool to use during germination, often used in conjunction with heat mats.
Read More
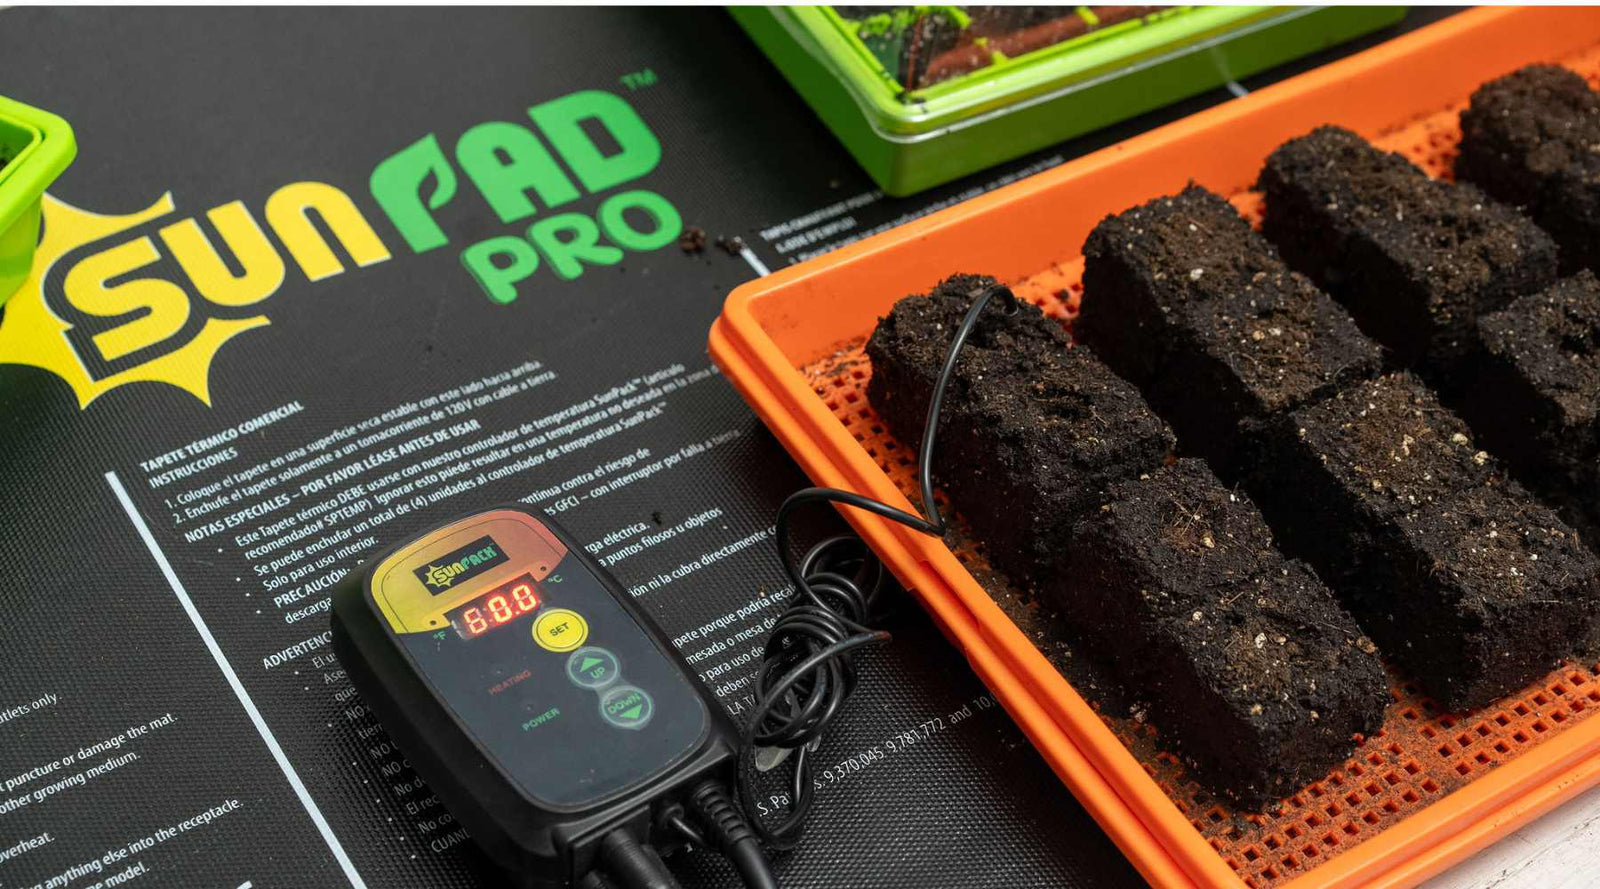

How to Use Heat Mats for Starting Seeds
Learn how to set-up and properly use a heat-mat in this quick how-to article. Read about the best way to use a heat mat and find out if you even need one!
Read More